Home
Pools
Gunite Pools
Vinyl Pools
Above Ground Pools
Hot Tubs
Services
Gallery
Gunite Pools
Vinyl Pools
Above Ground Pools
Pool Accessories
Jacuzzi Hot Tubs
About Us
Blog
Contact Us
Resources
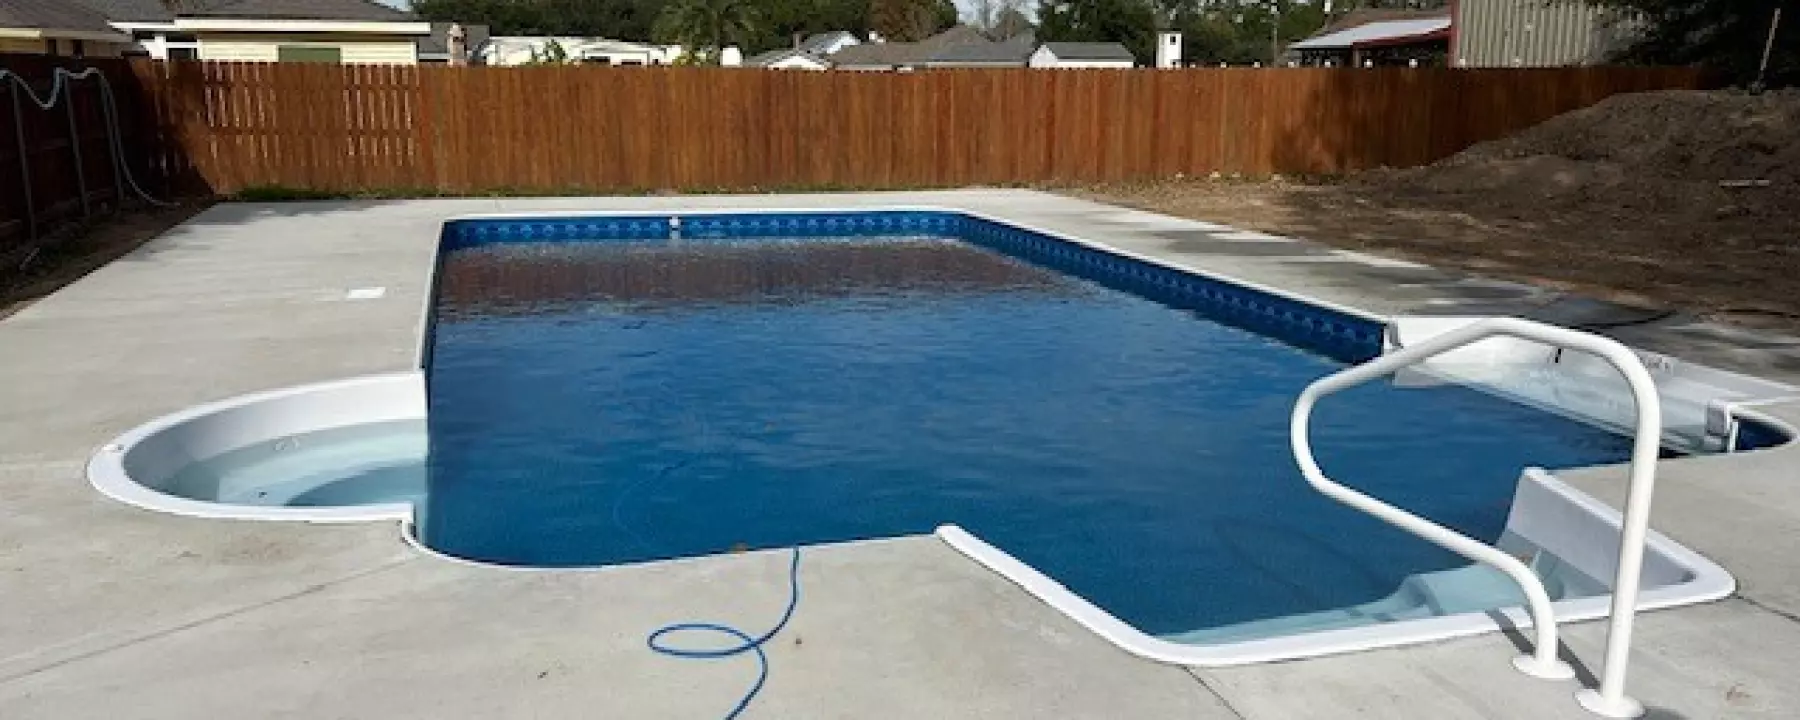
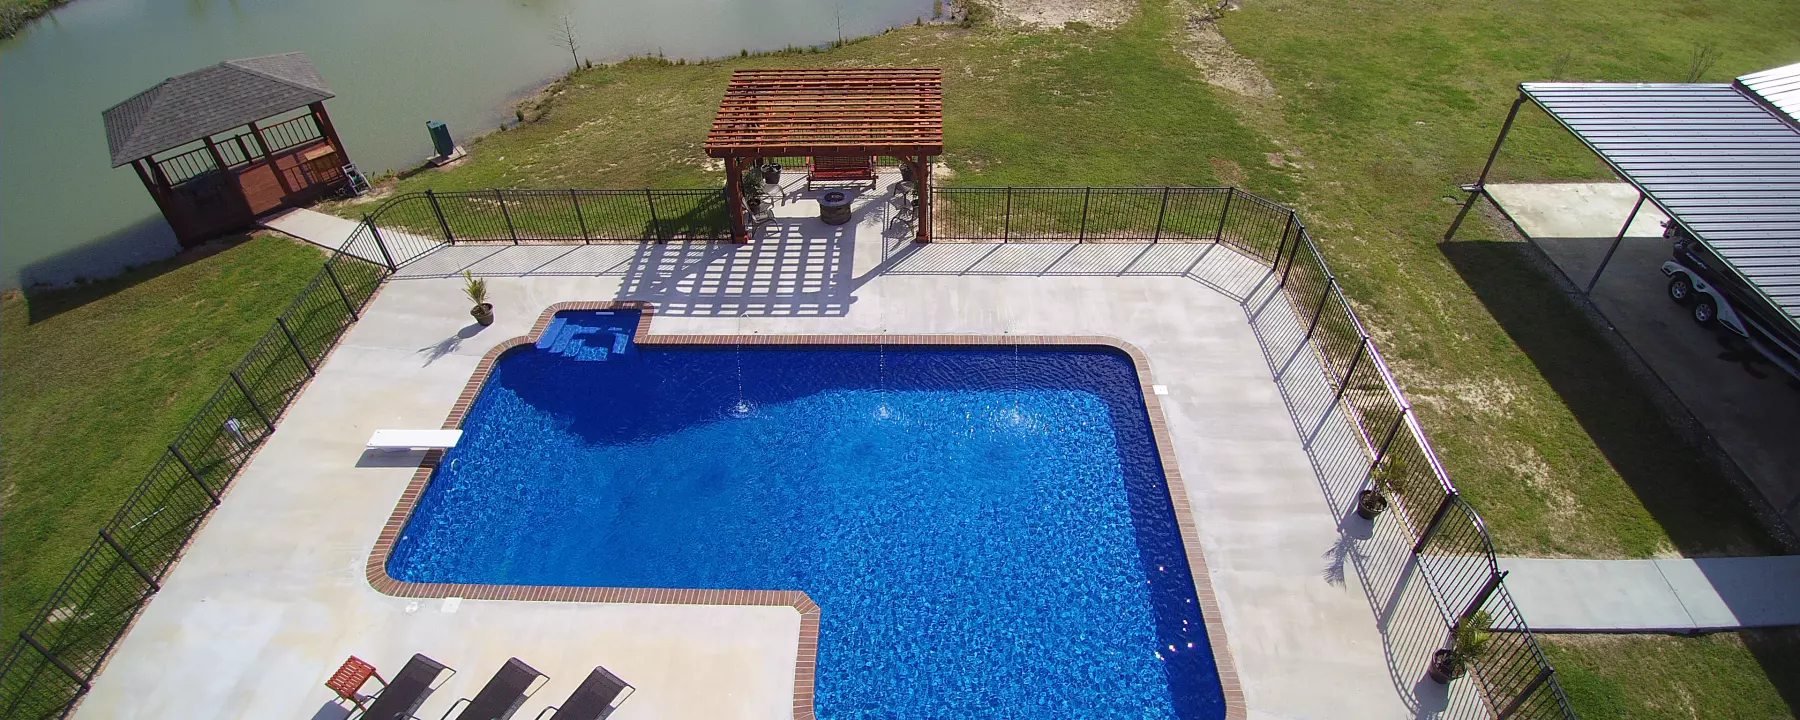
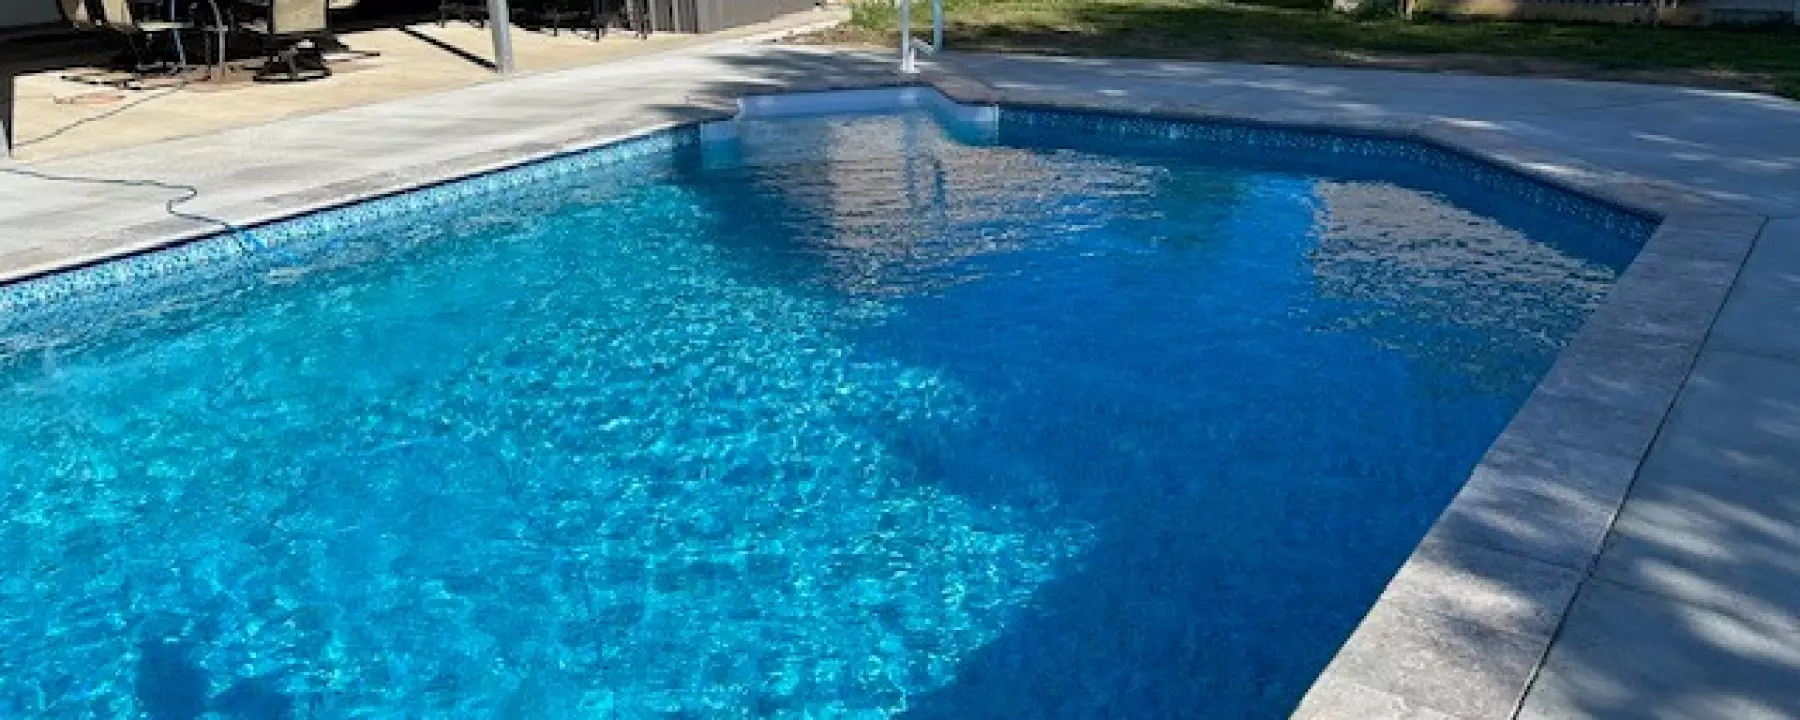
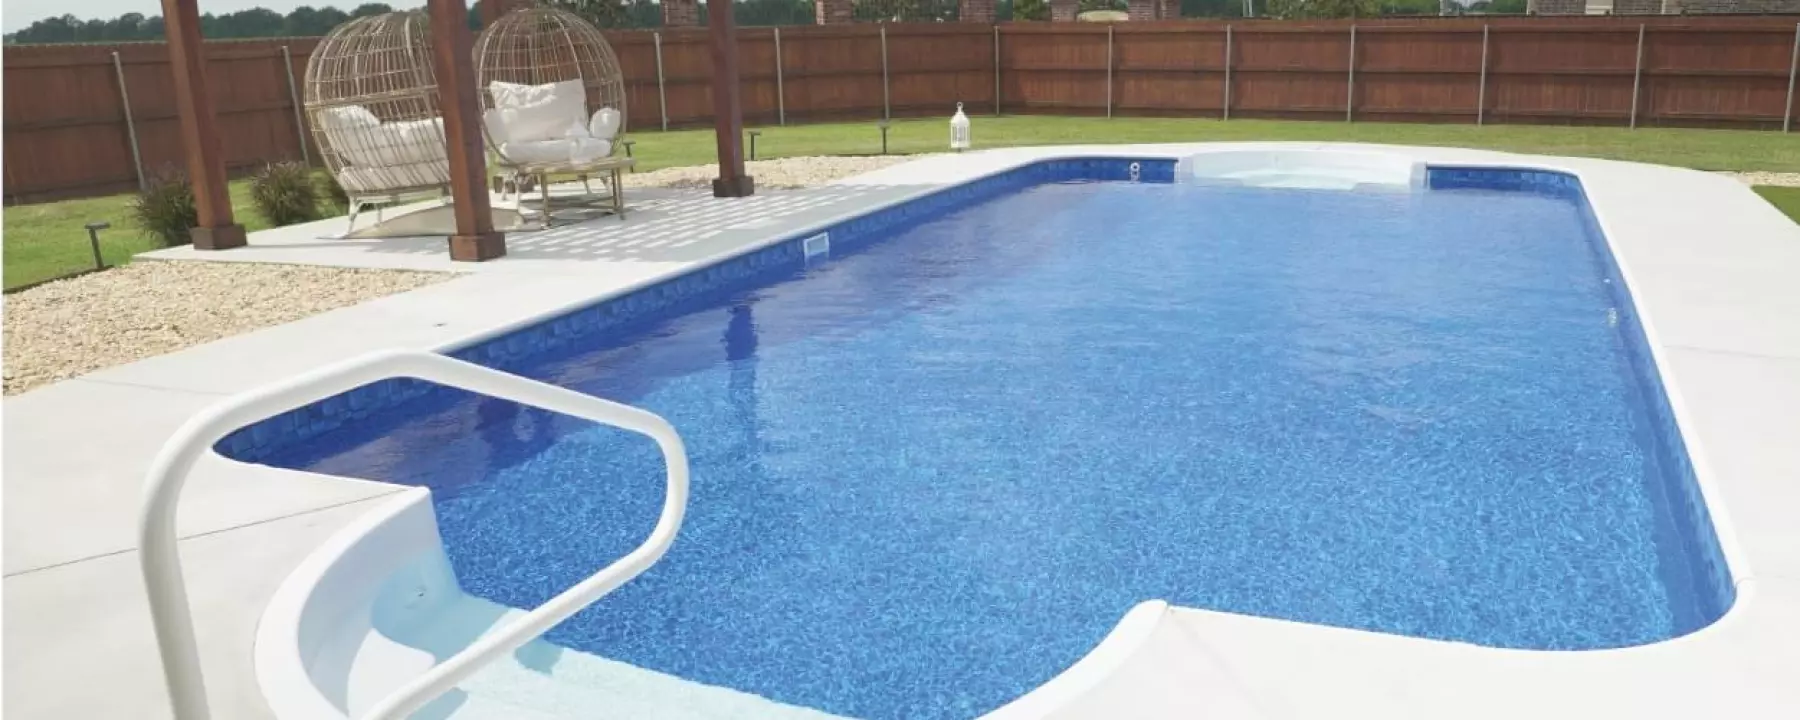
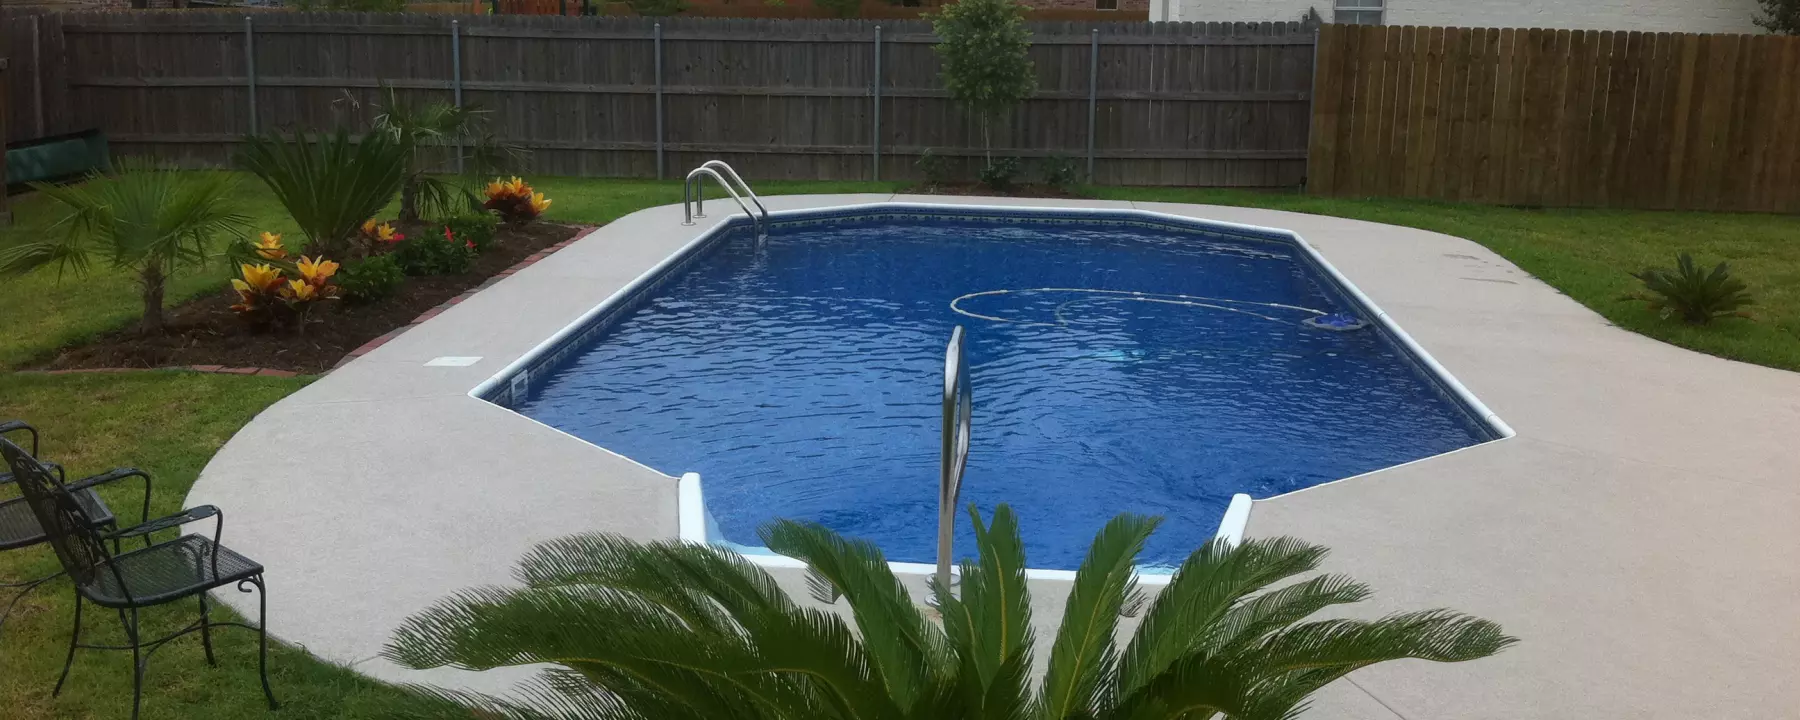
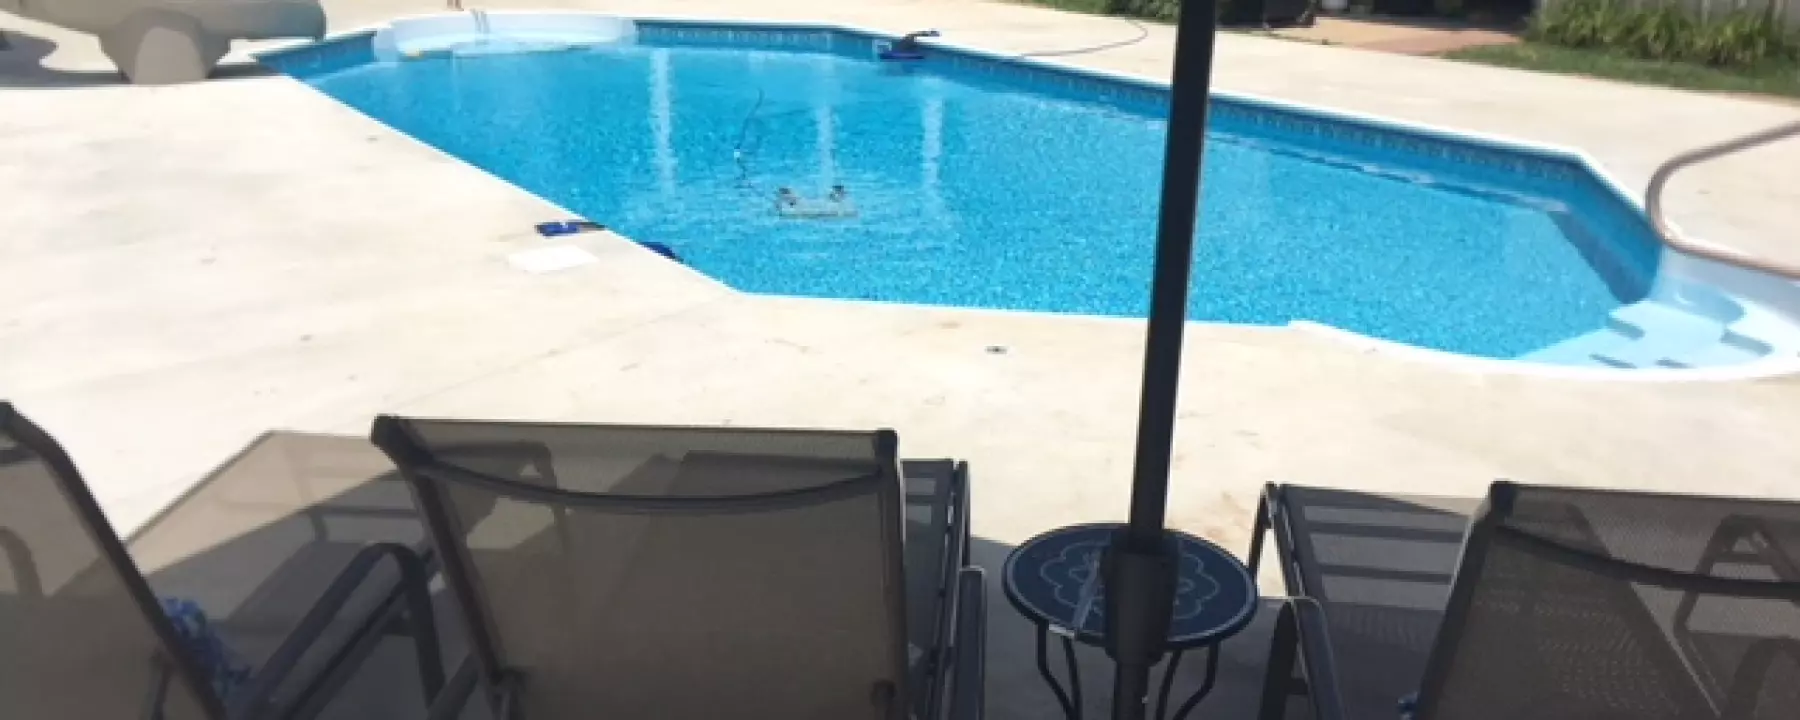
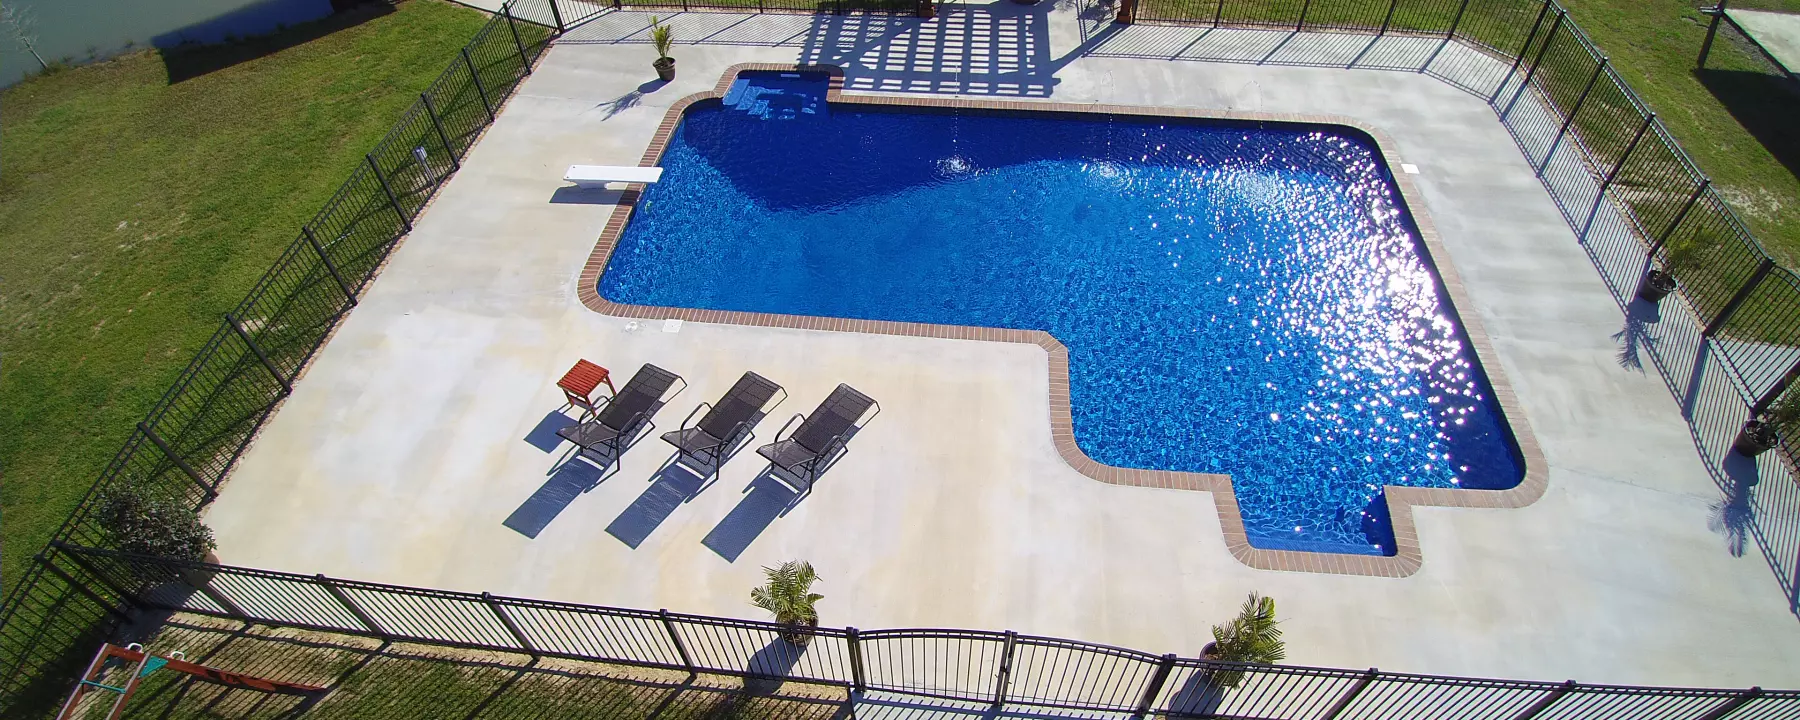
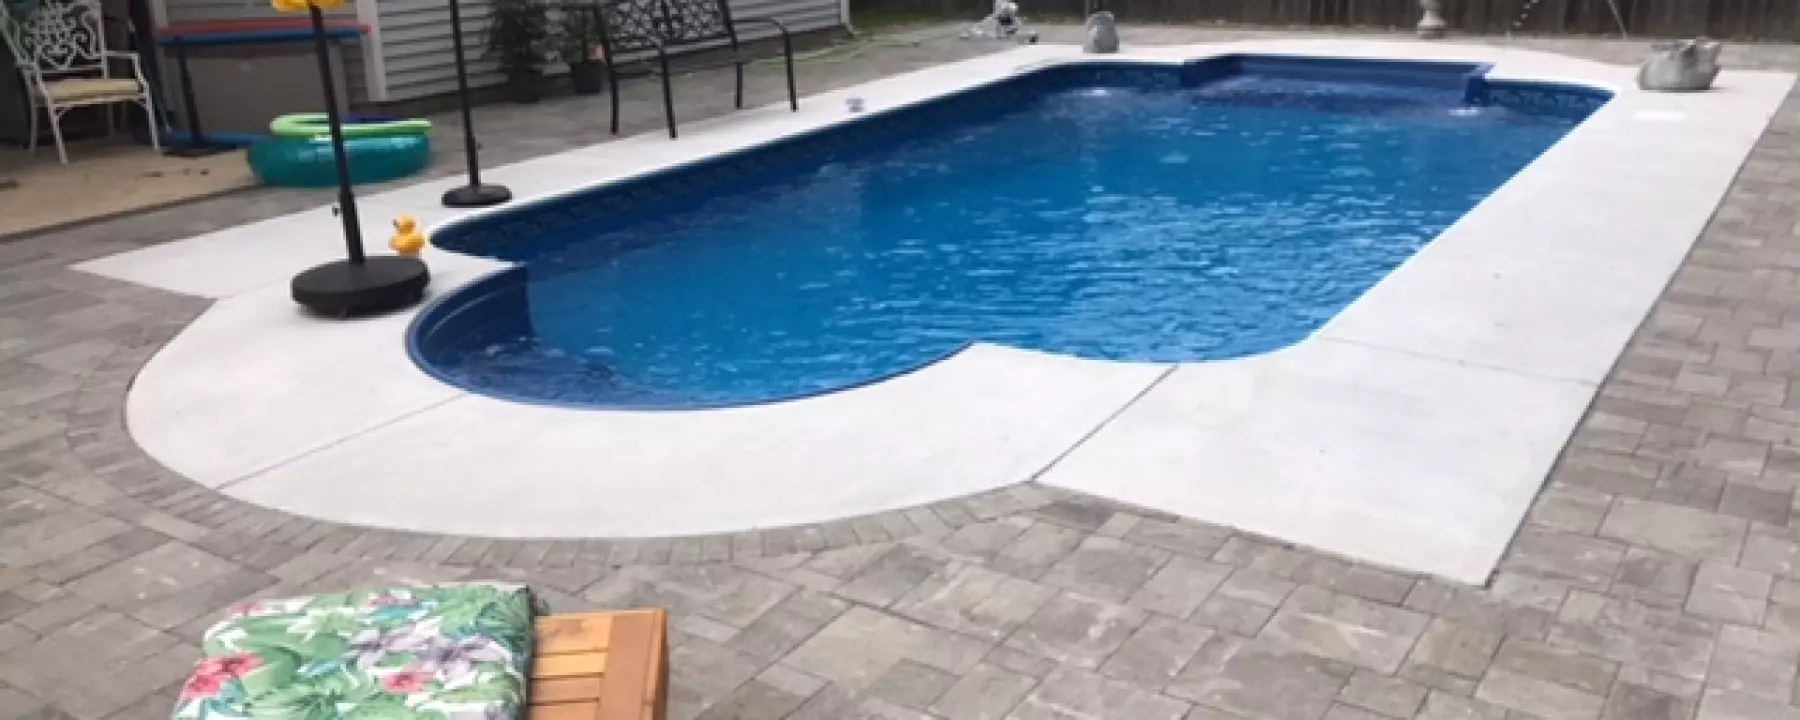
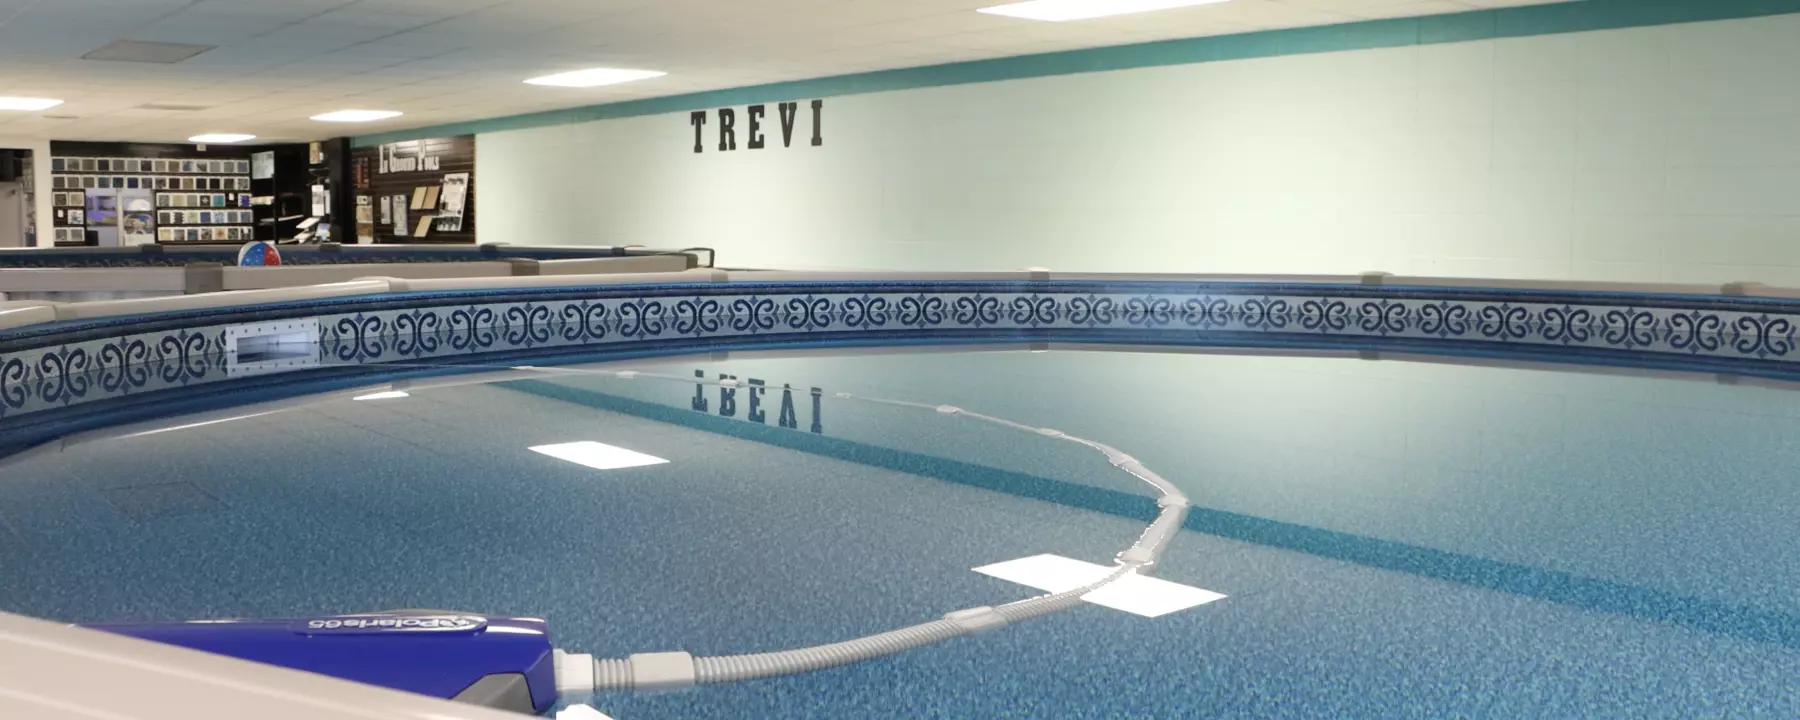
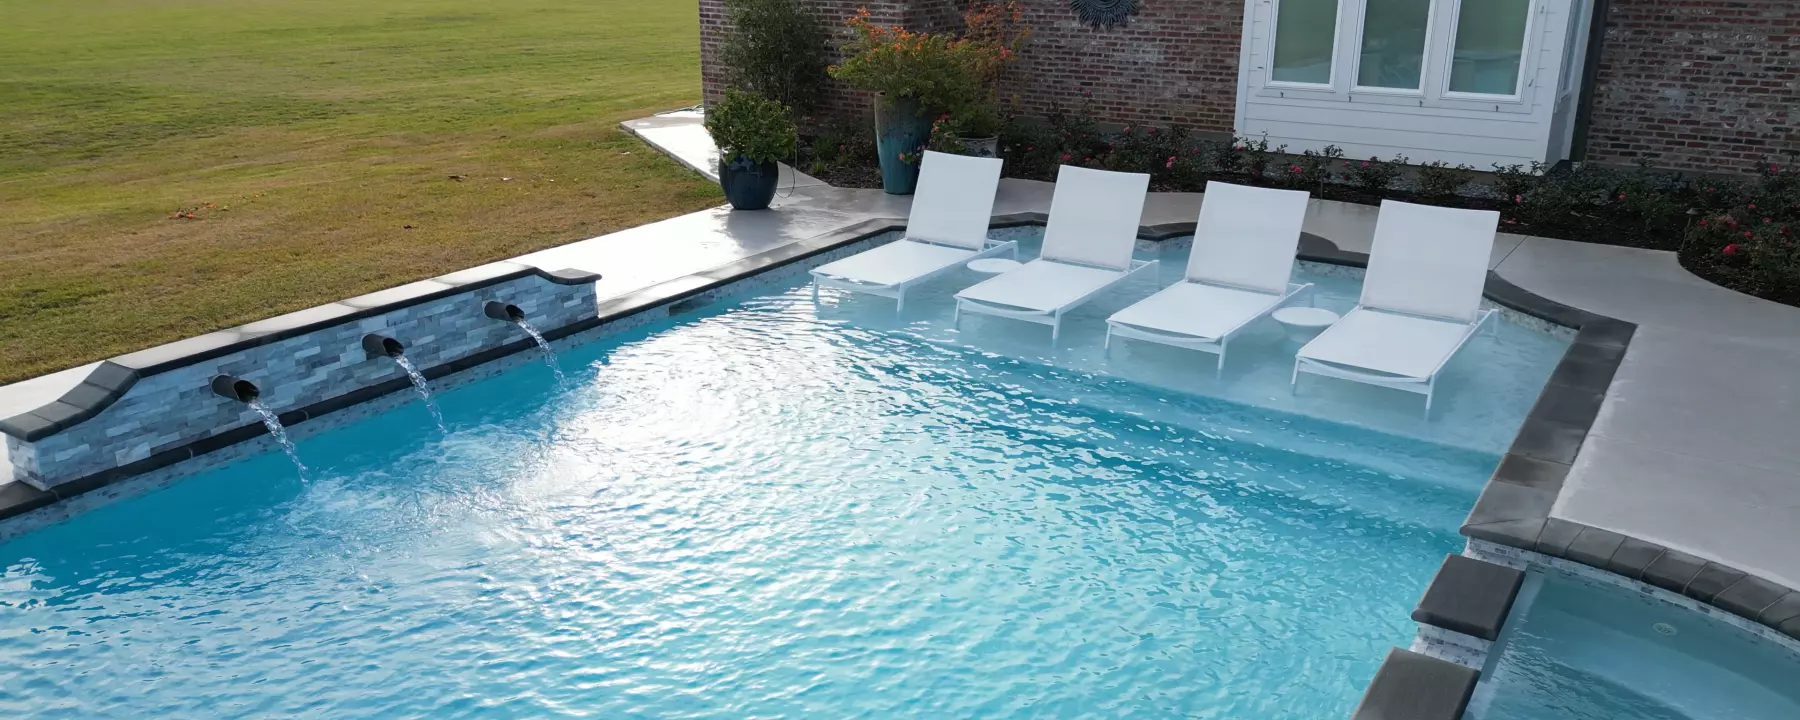
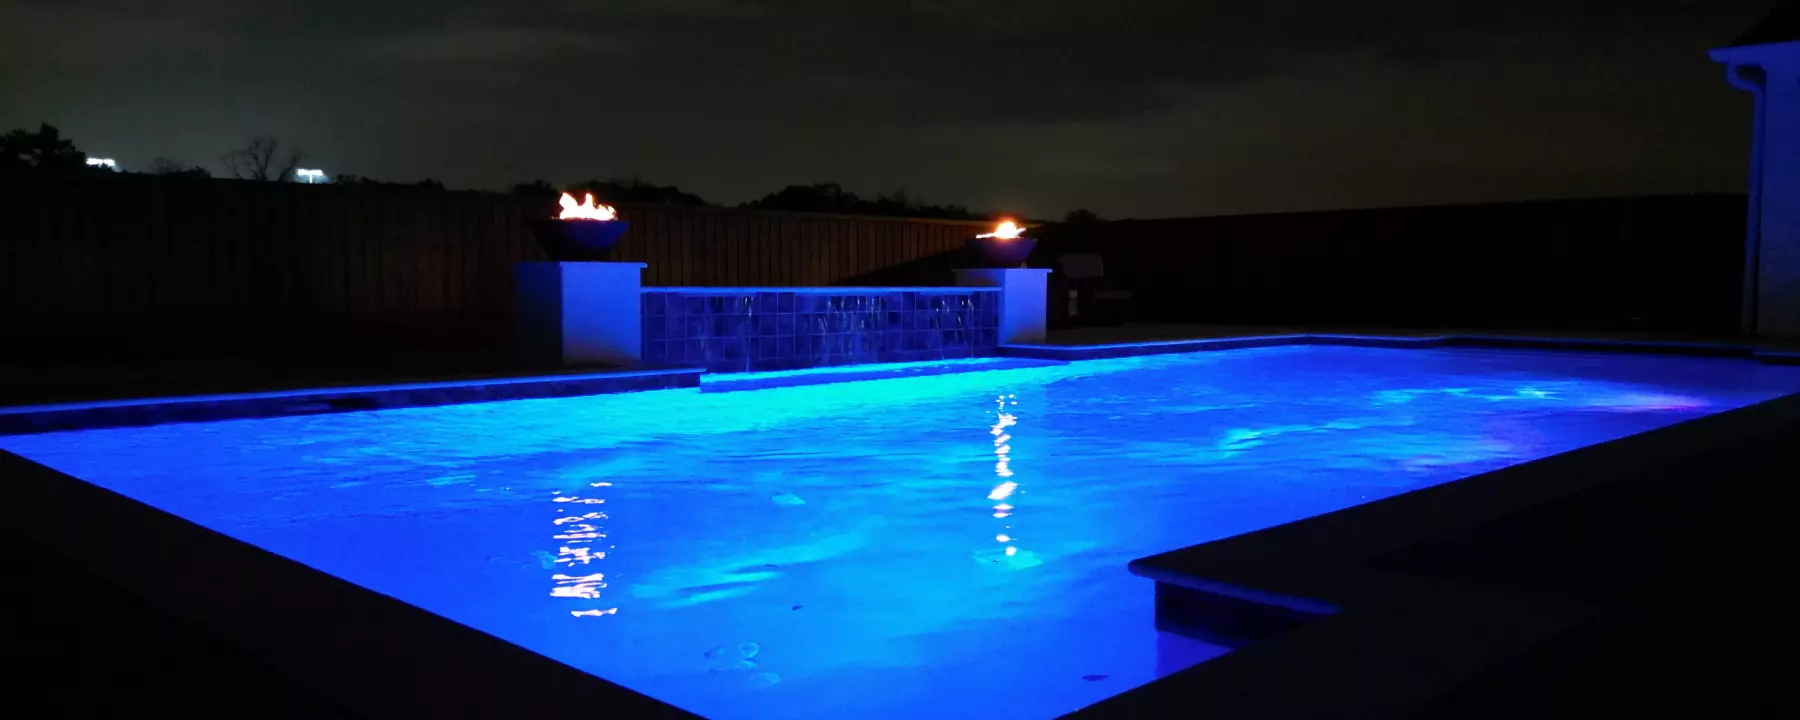
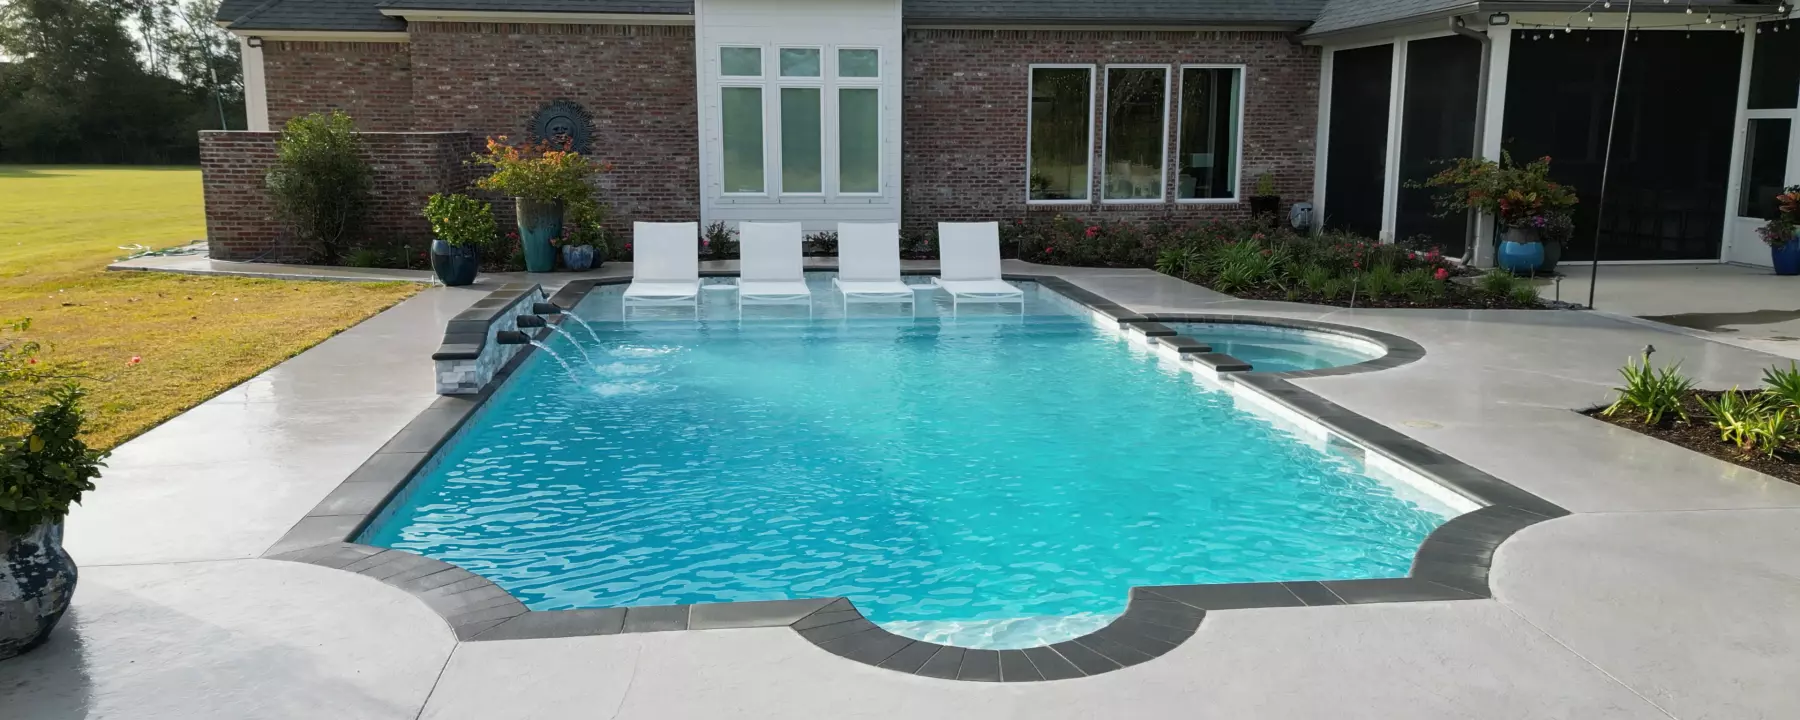
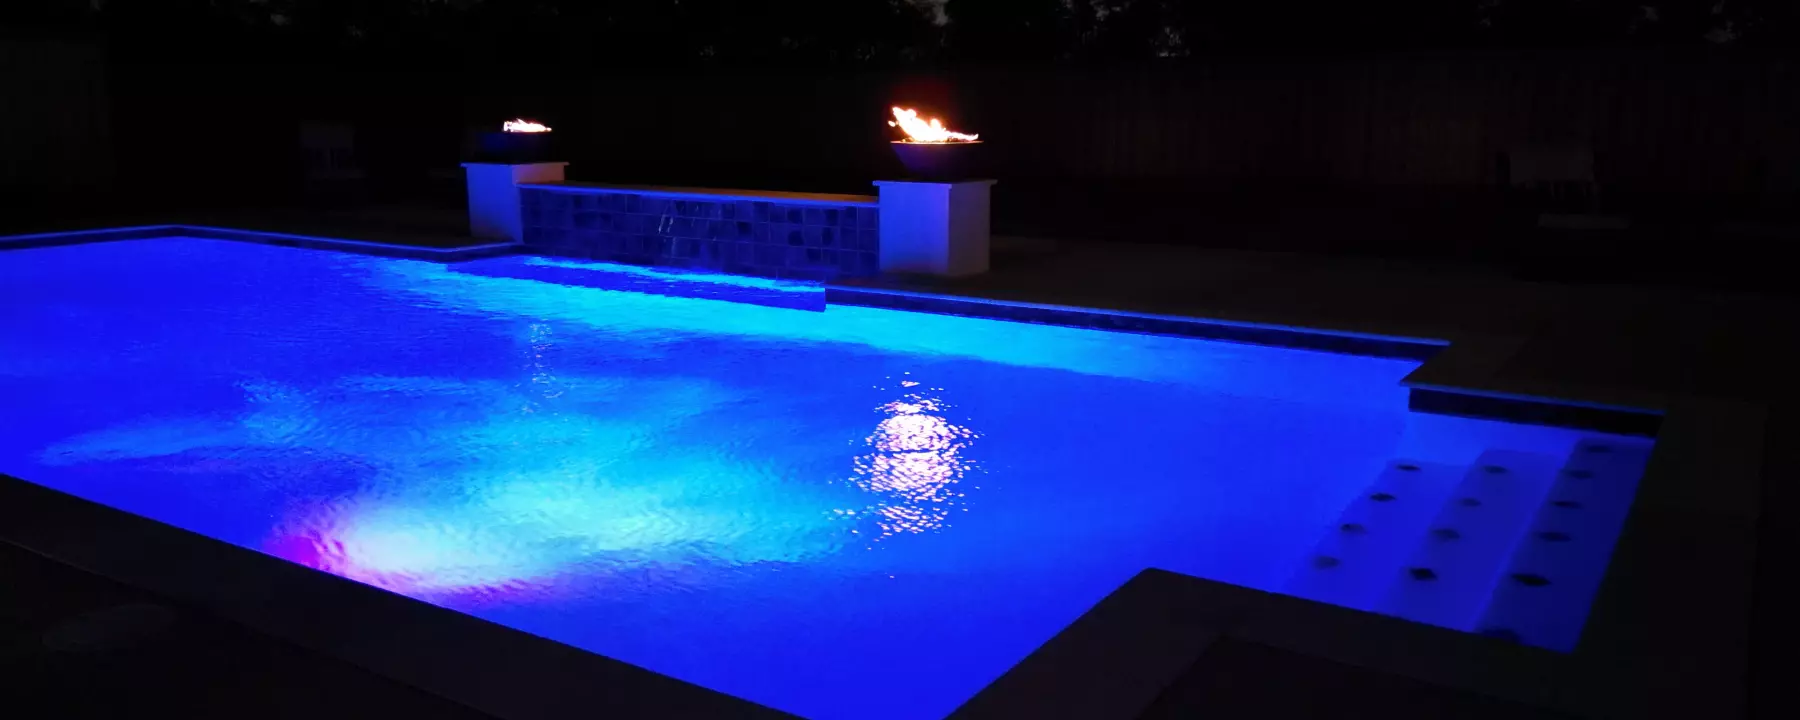
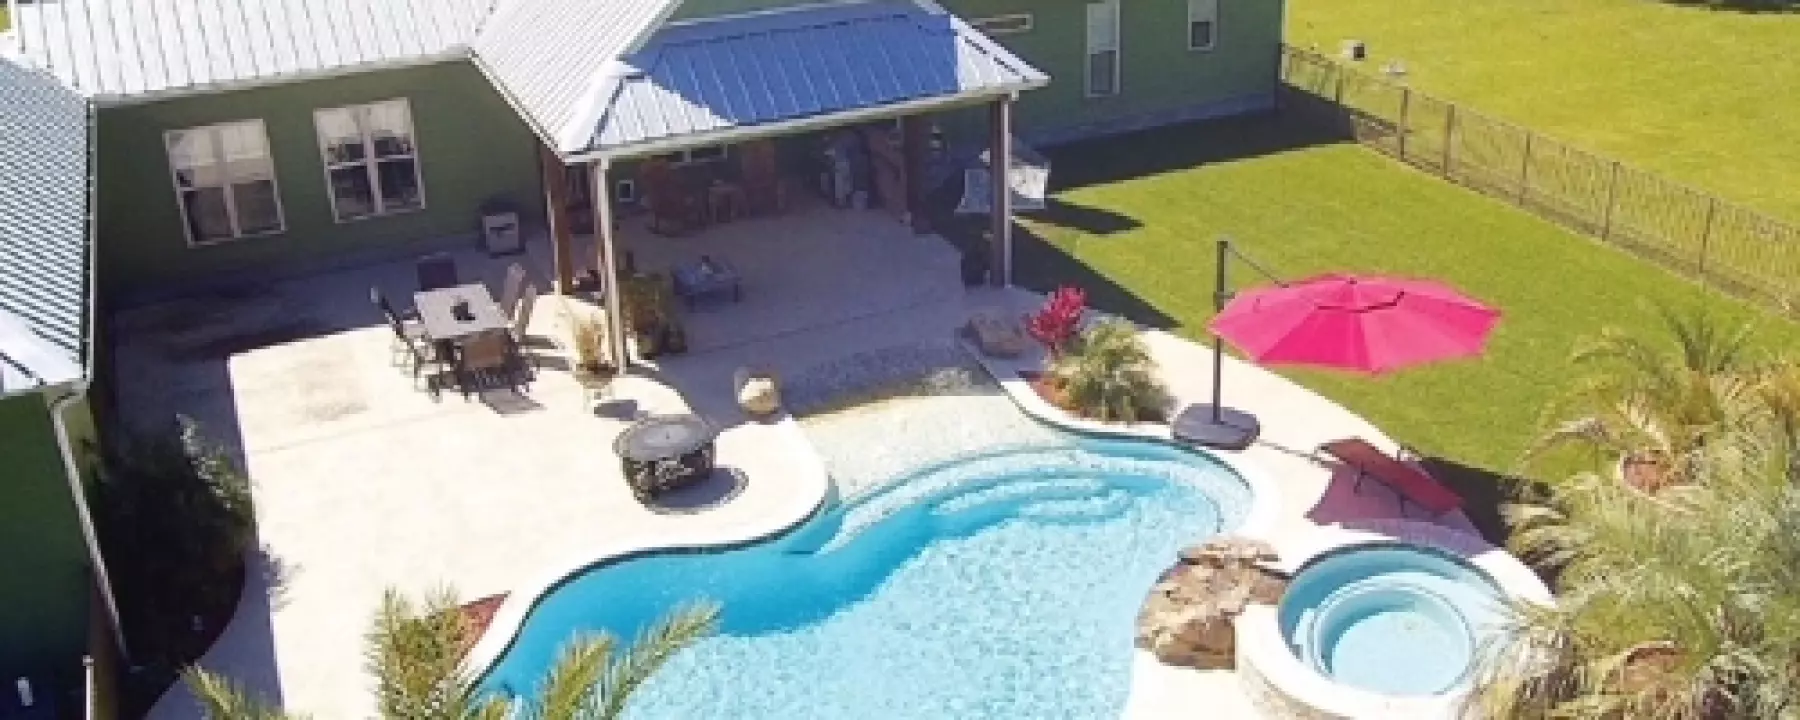
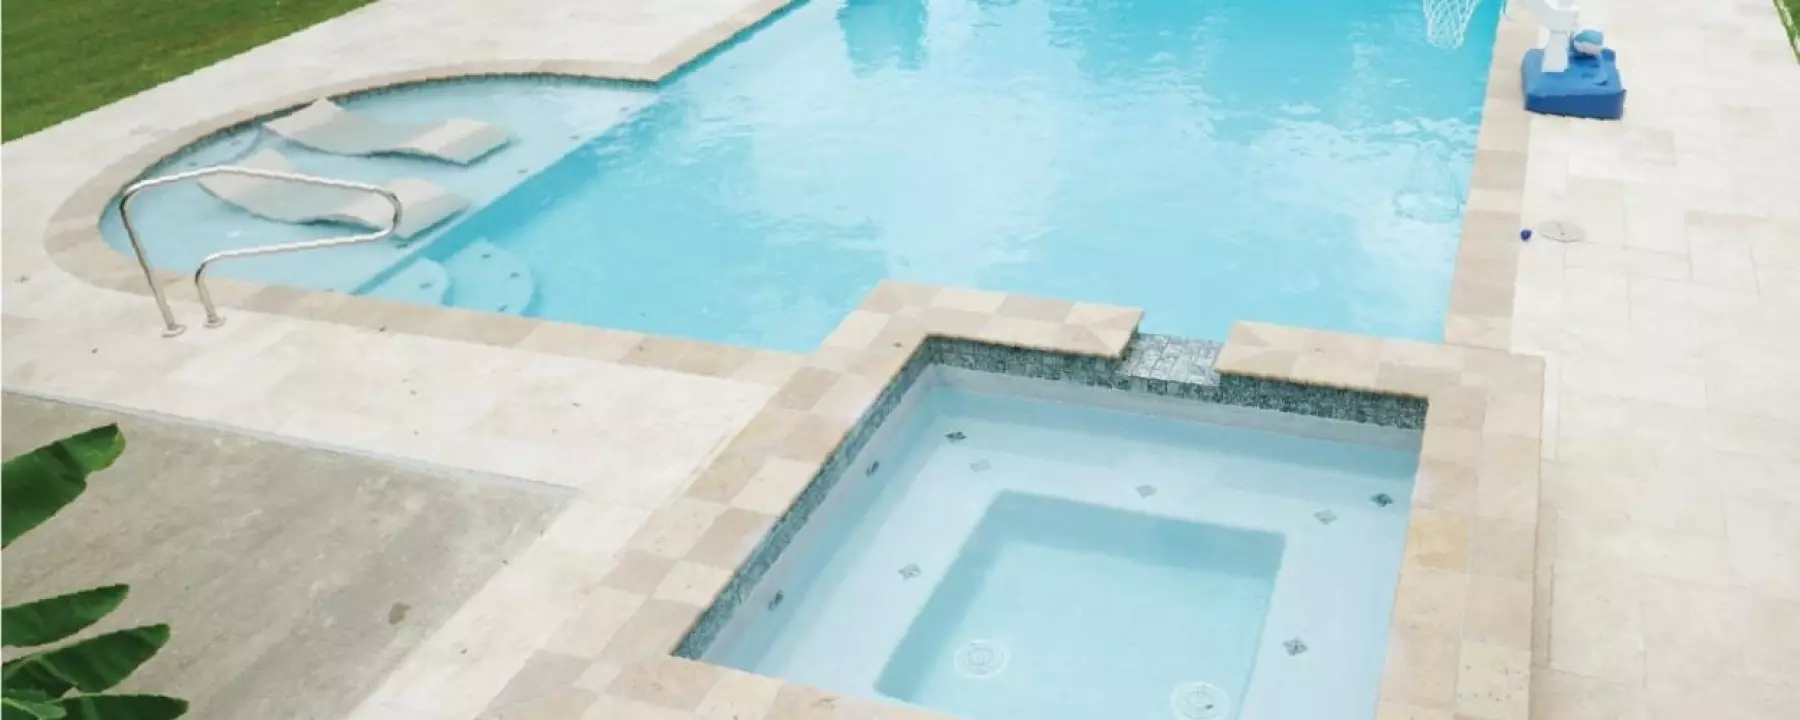
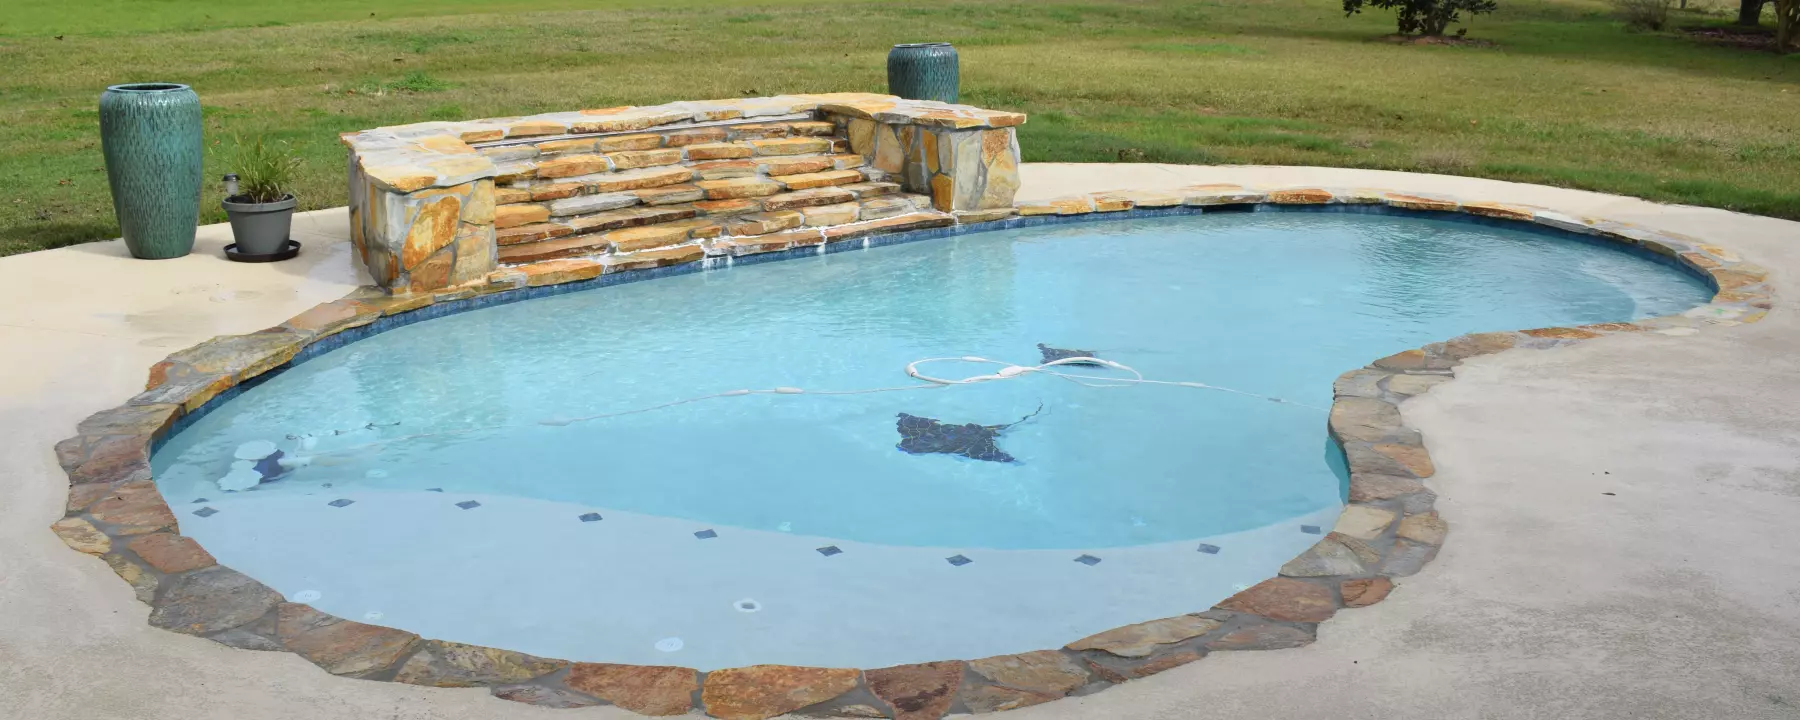
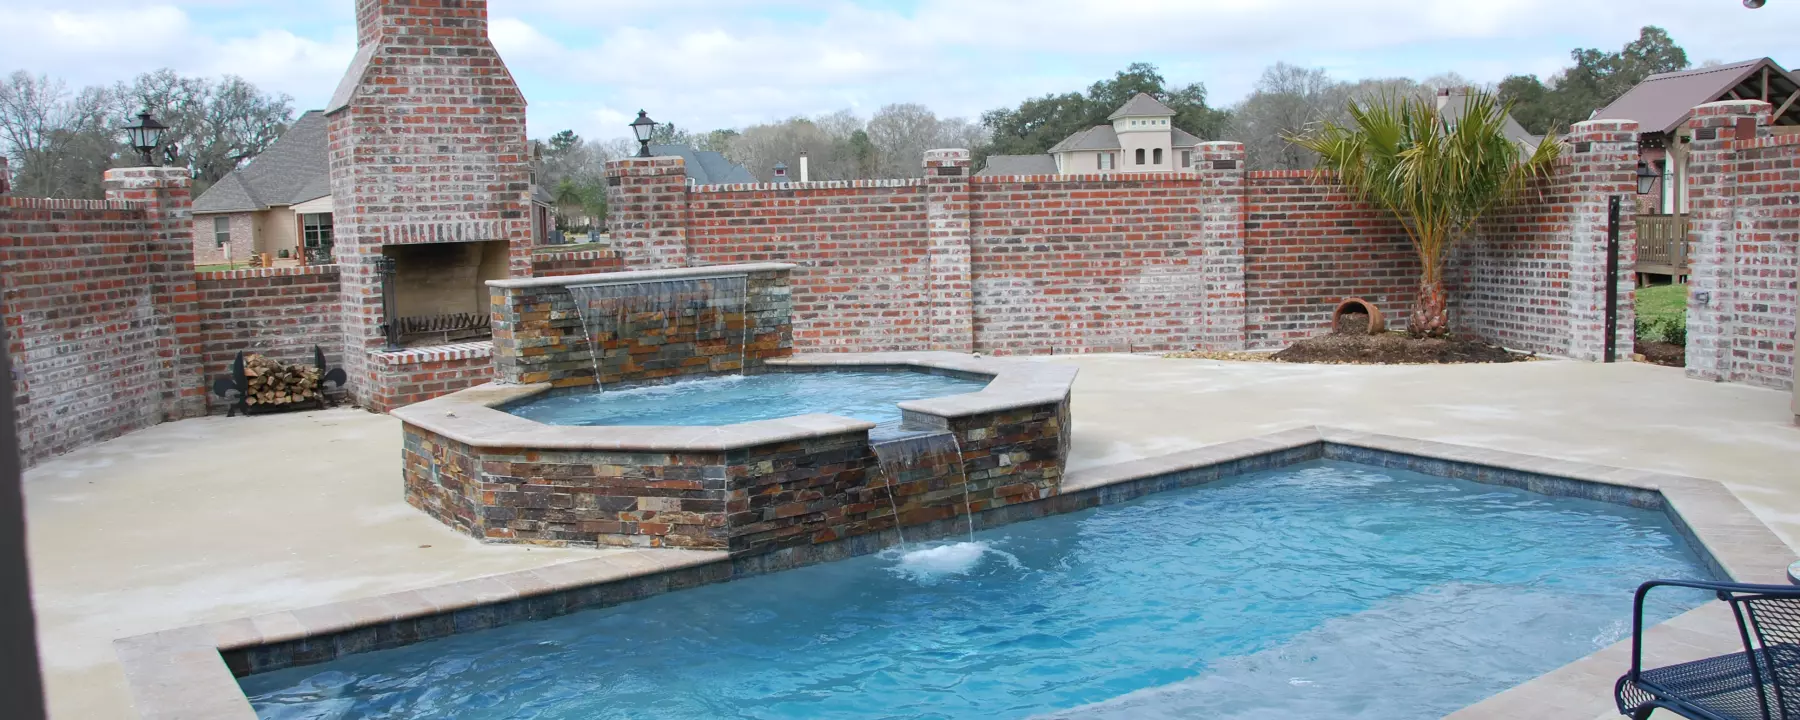
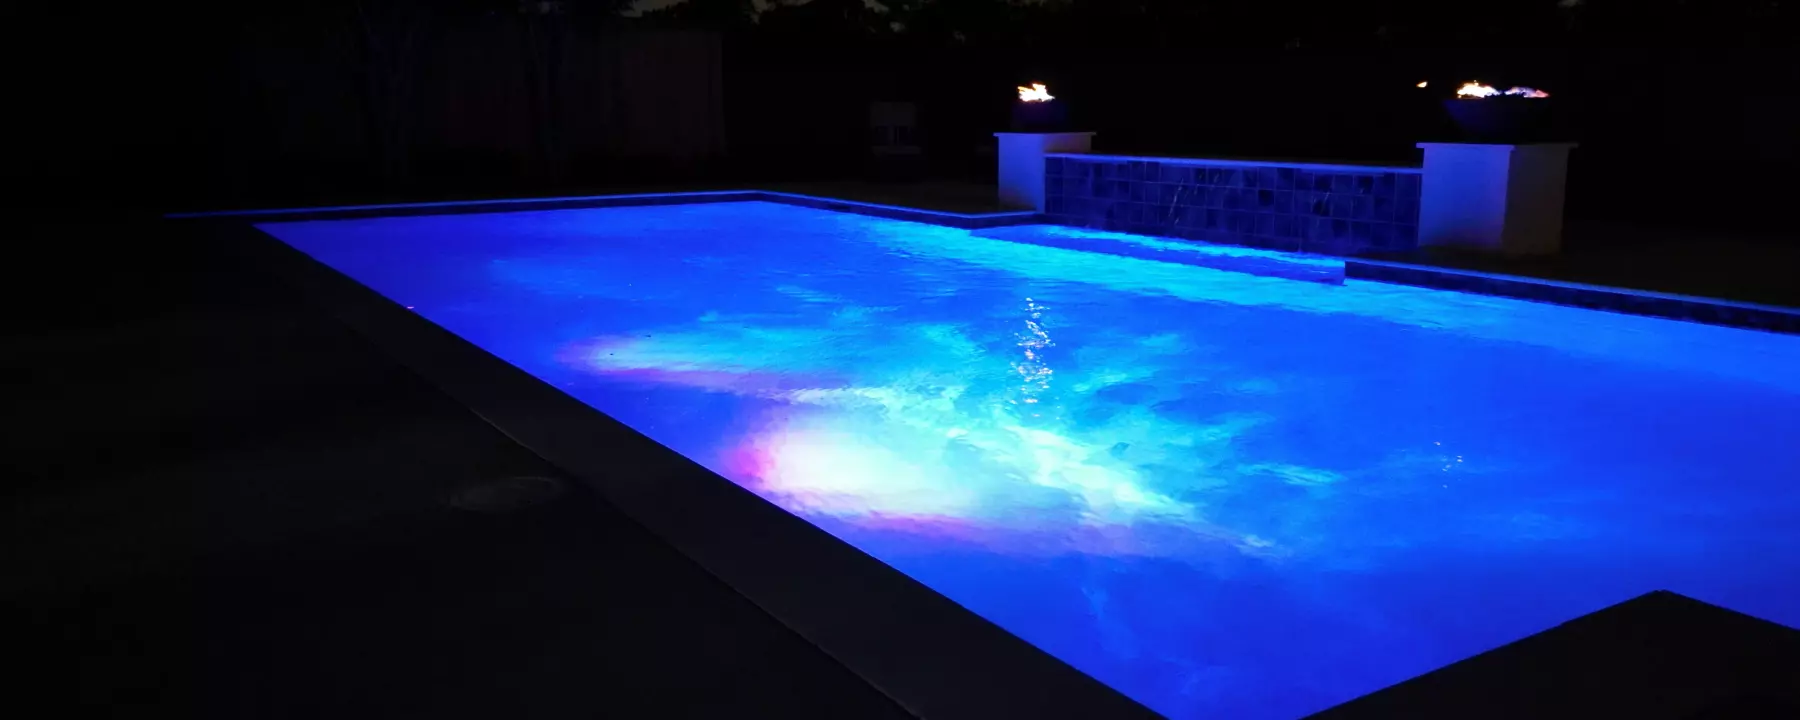
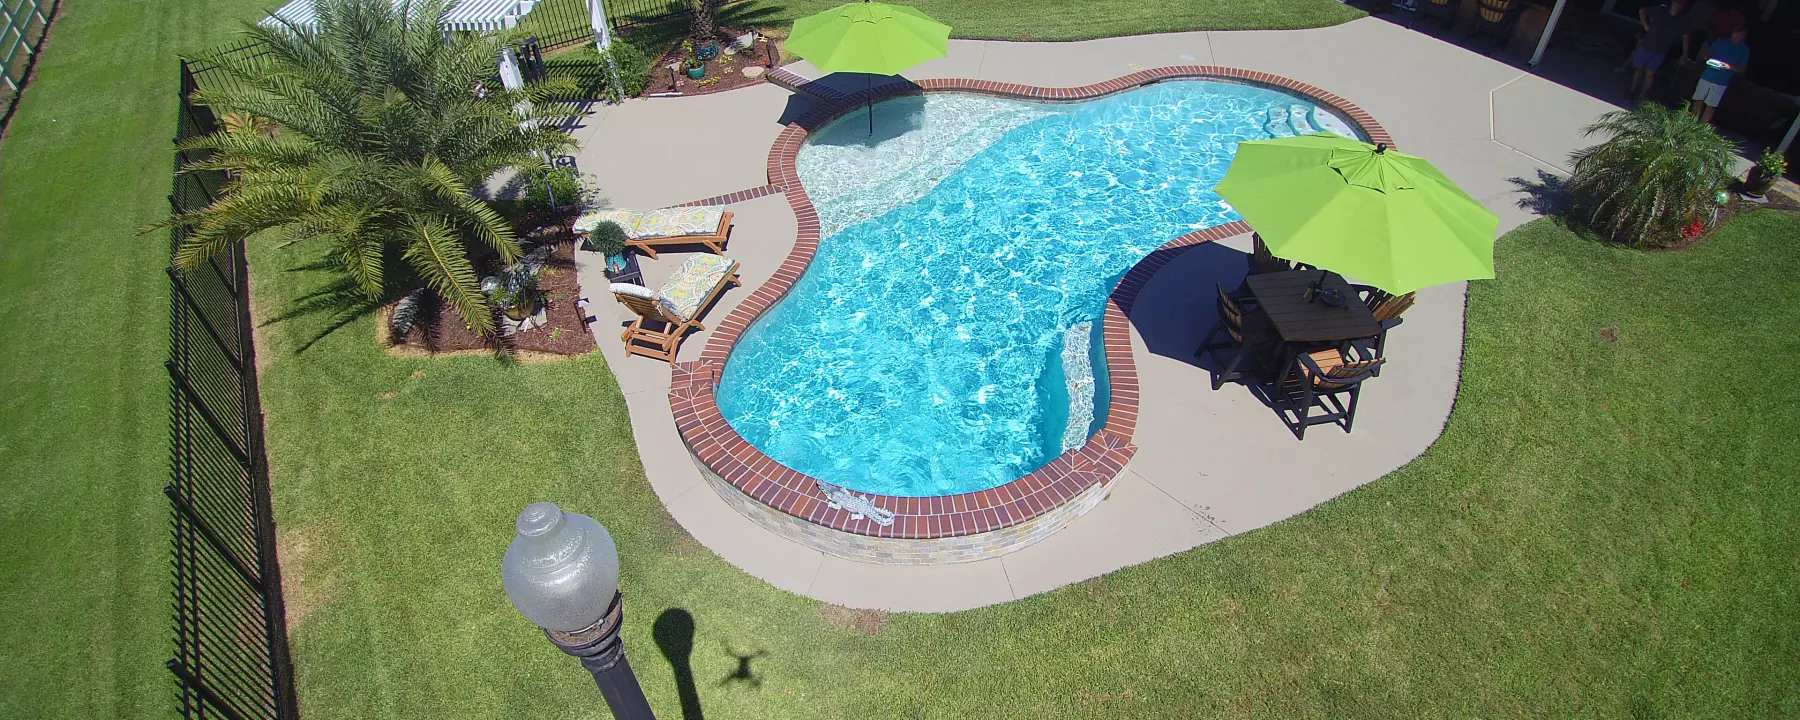
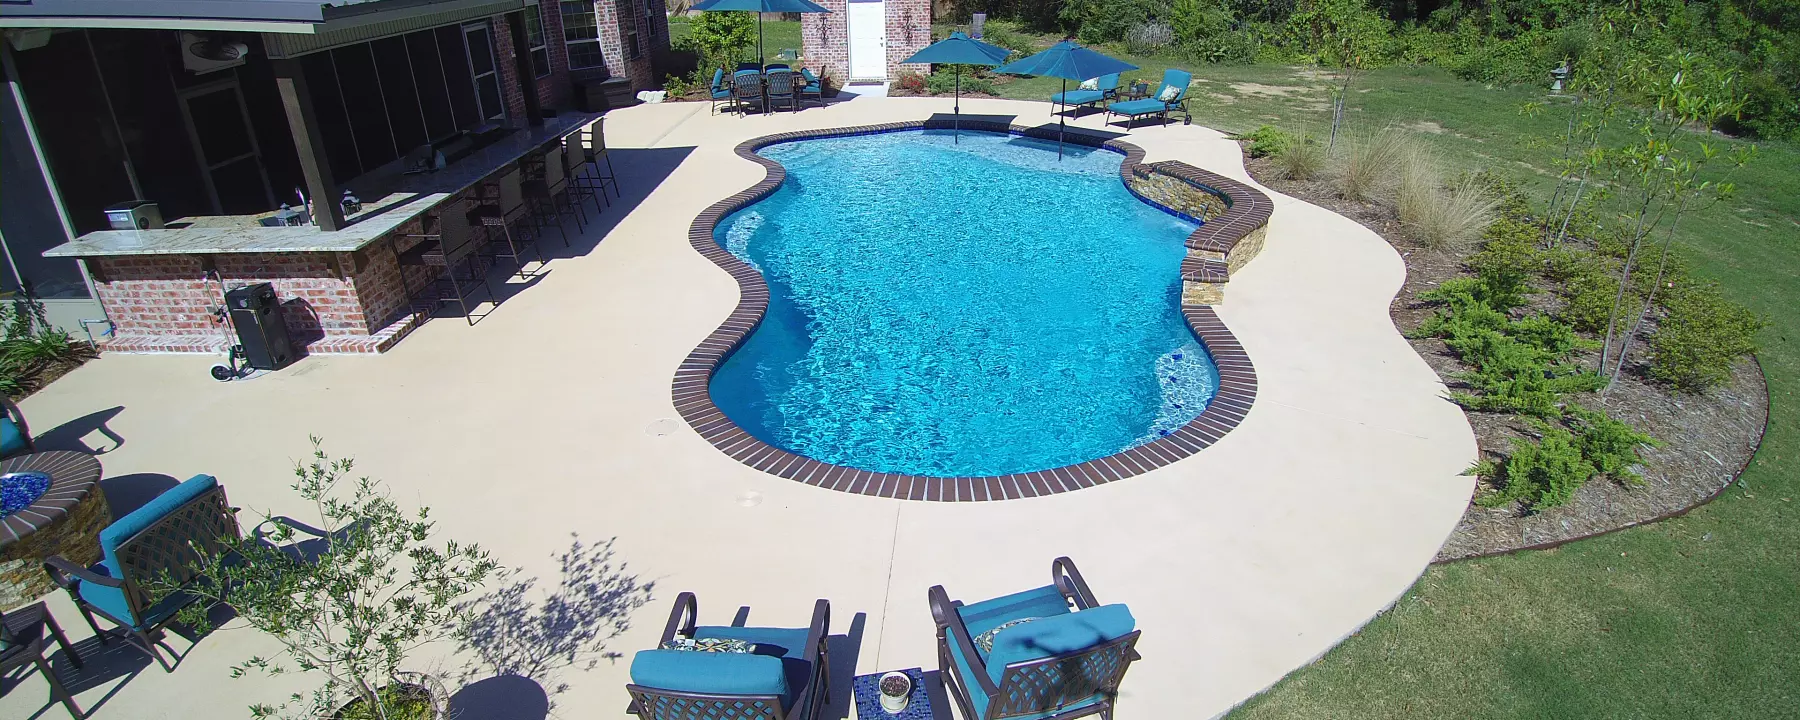
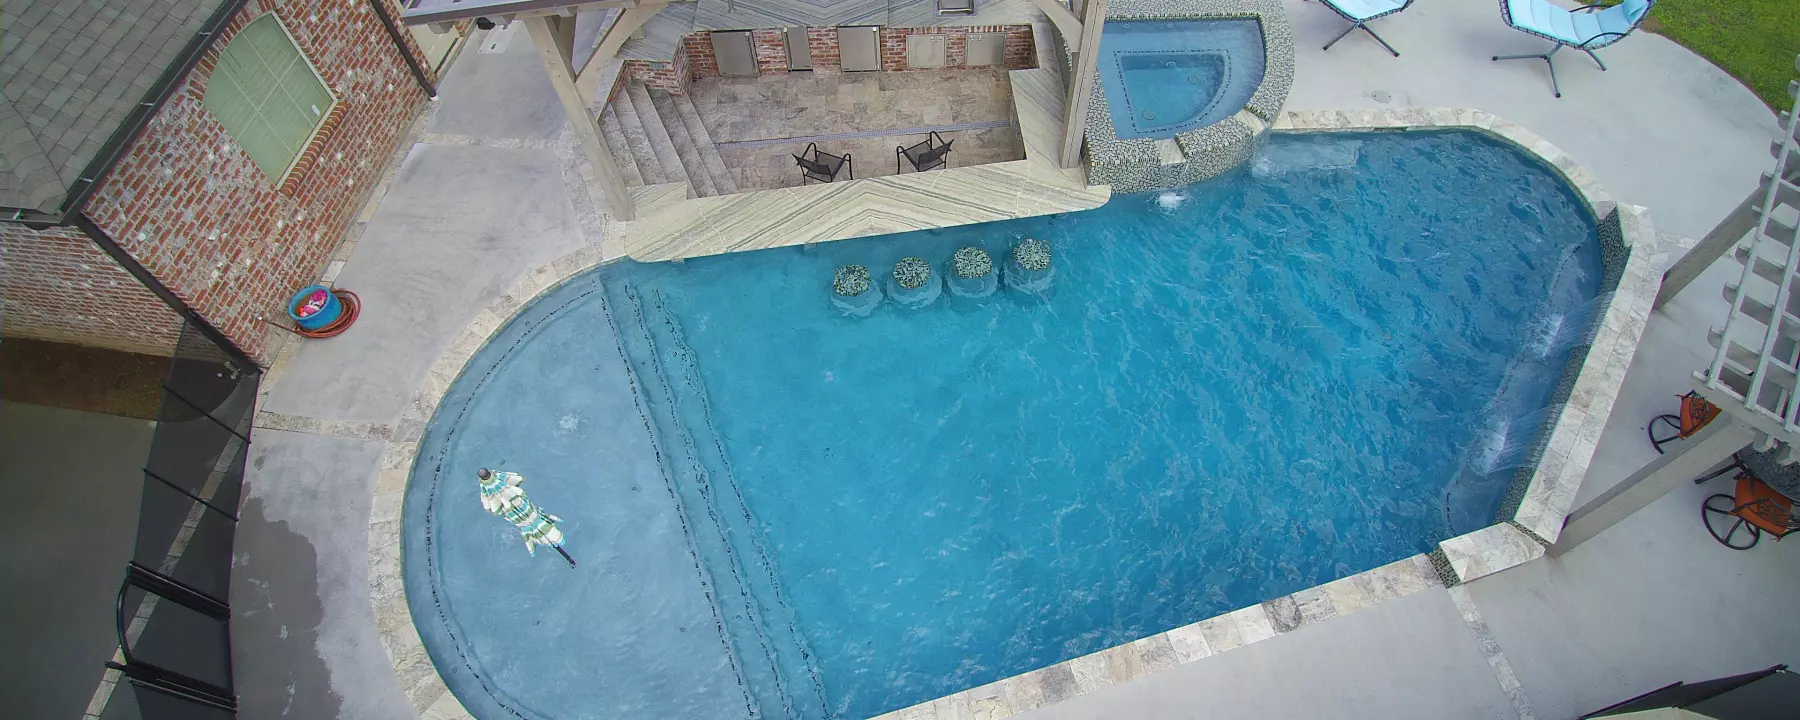
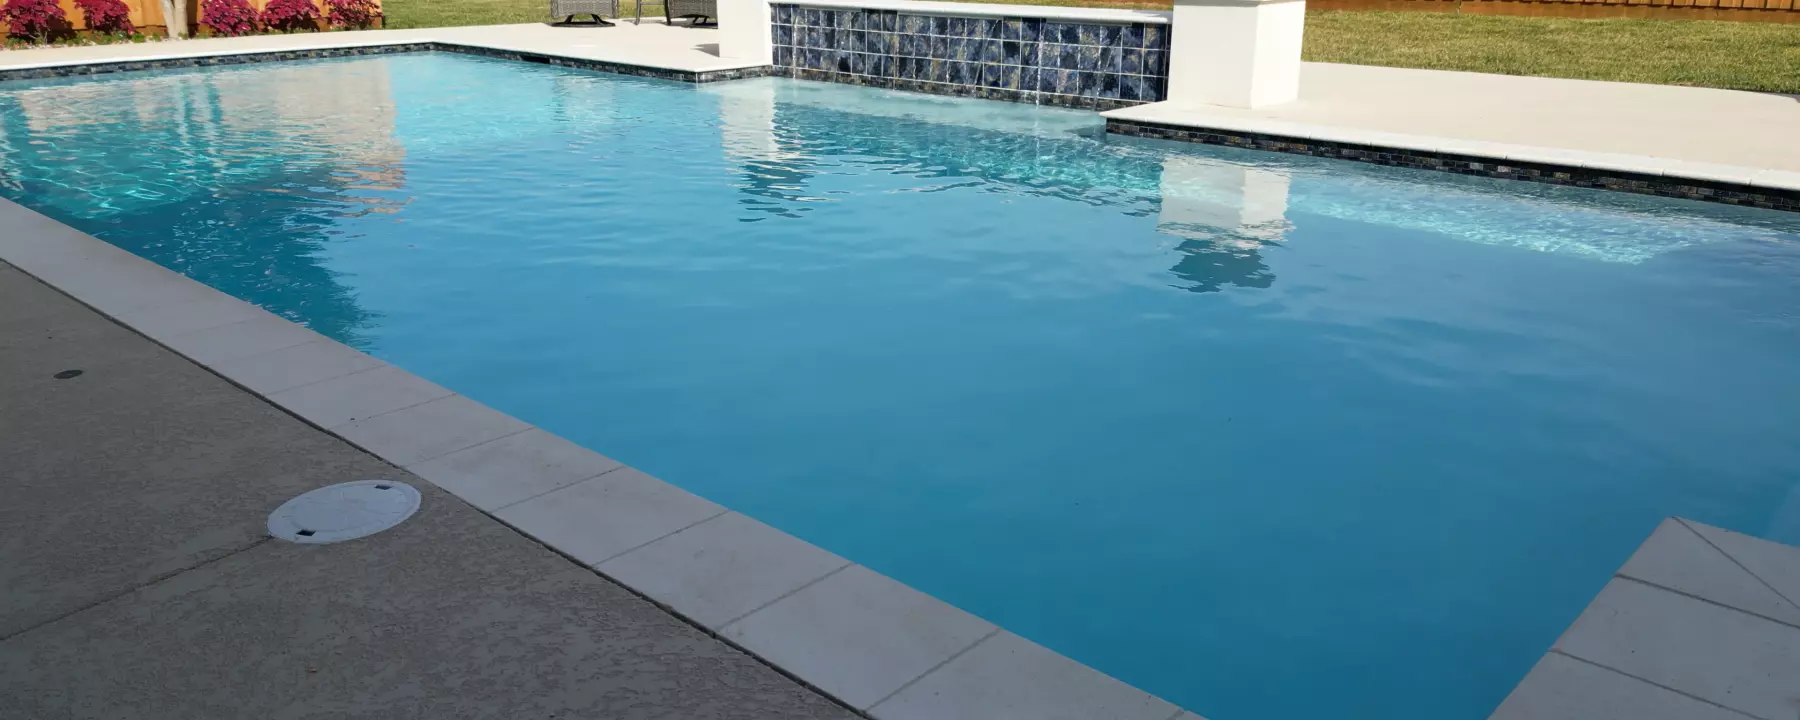
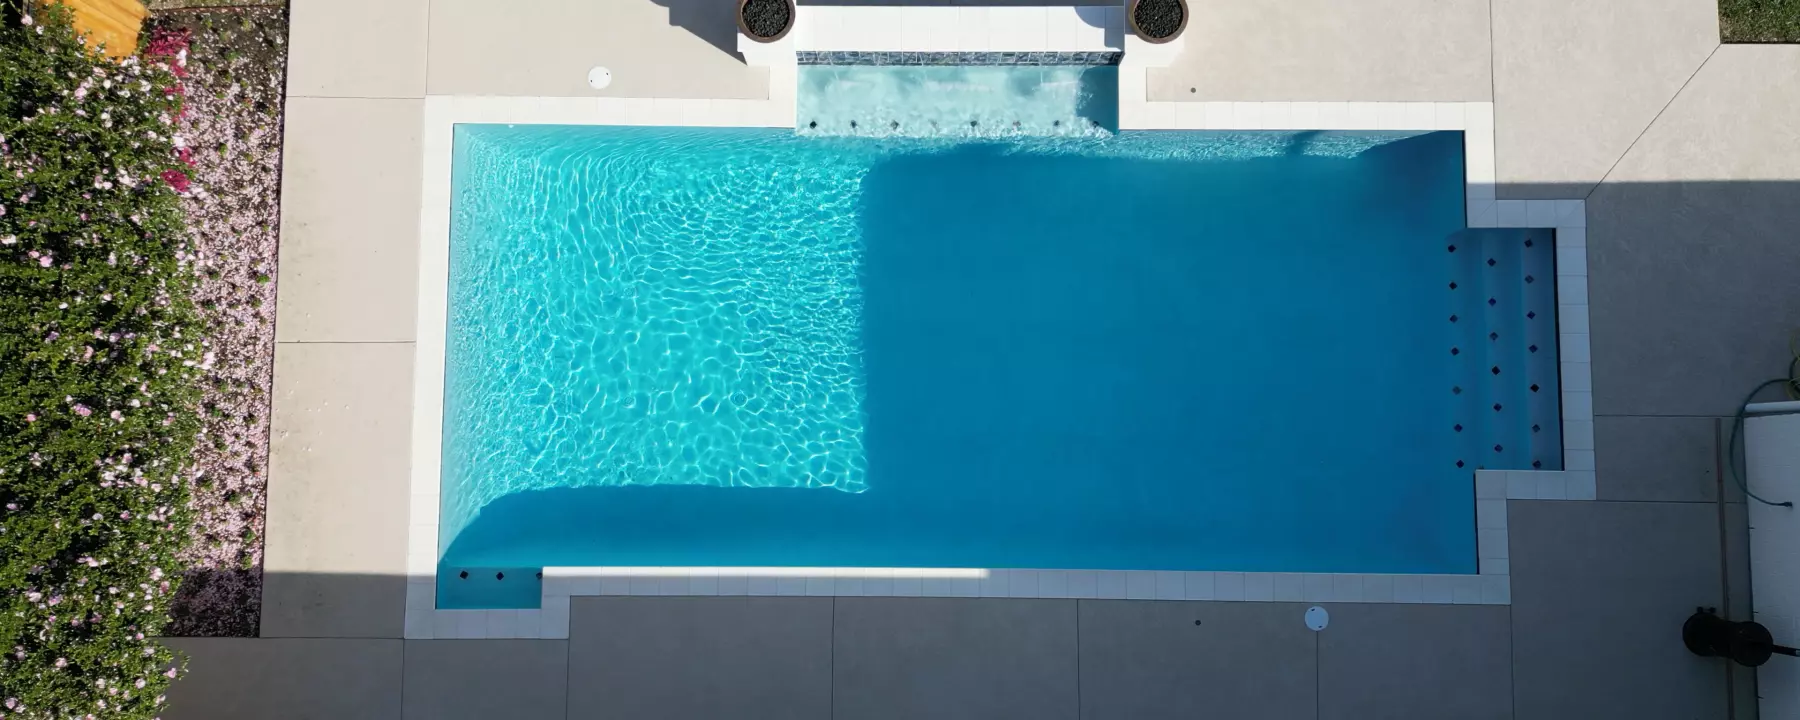
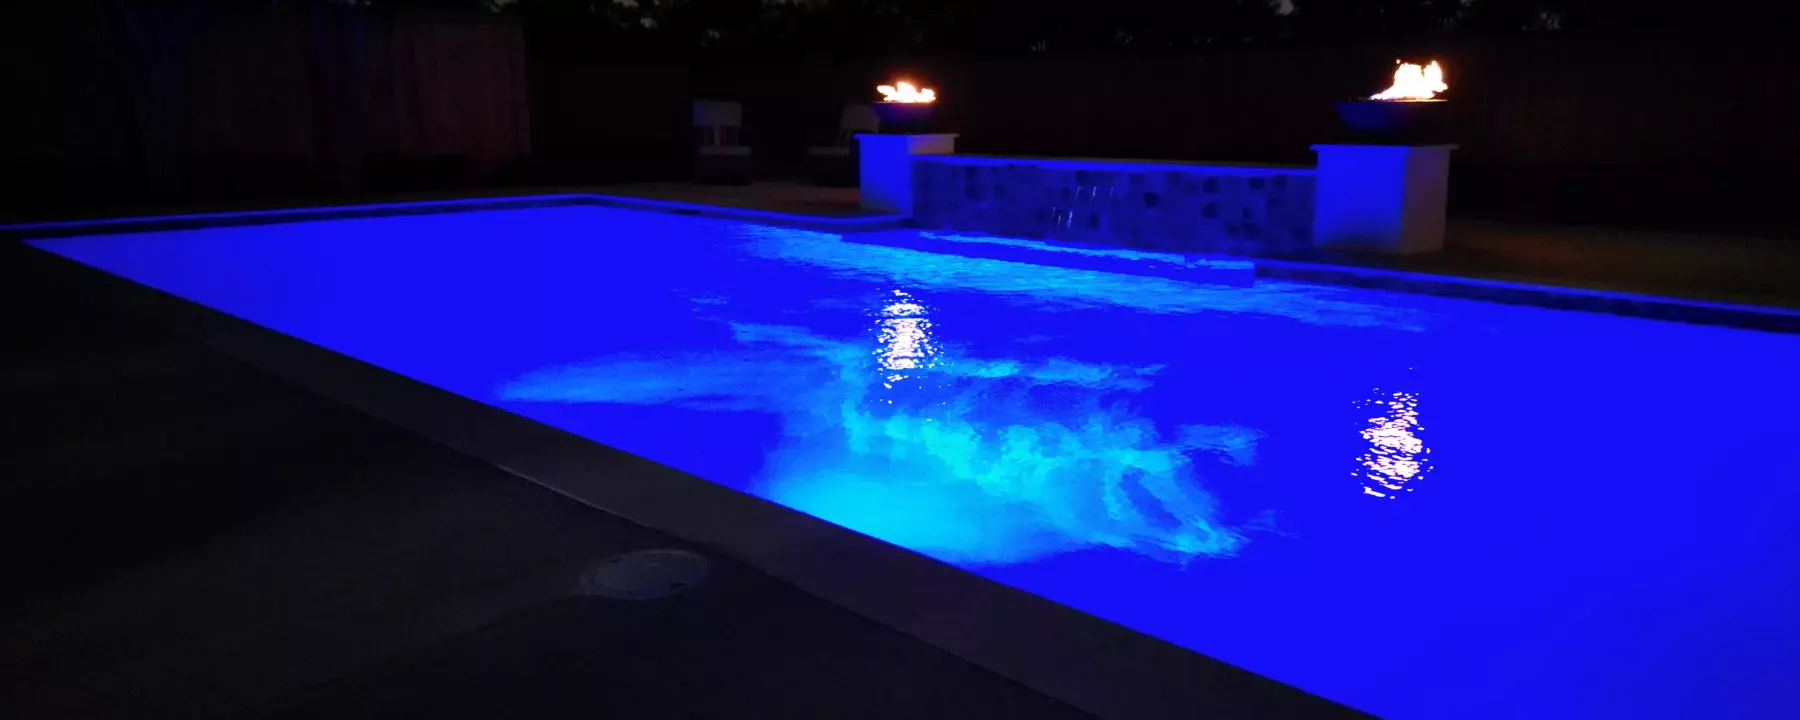
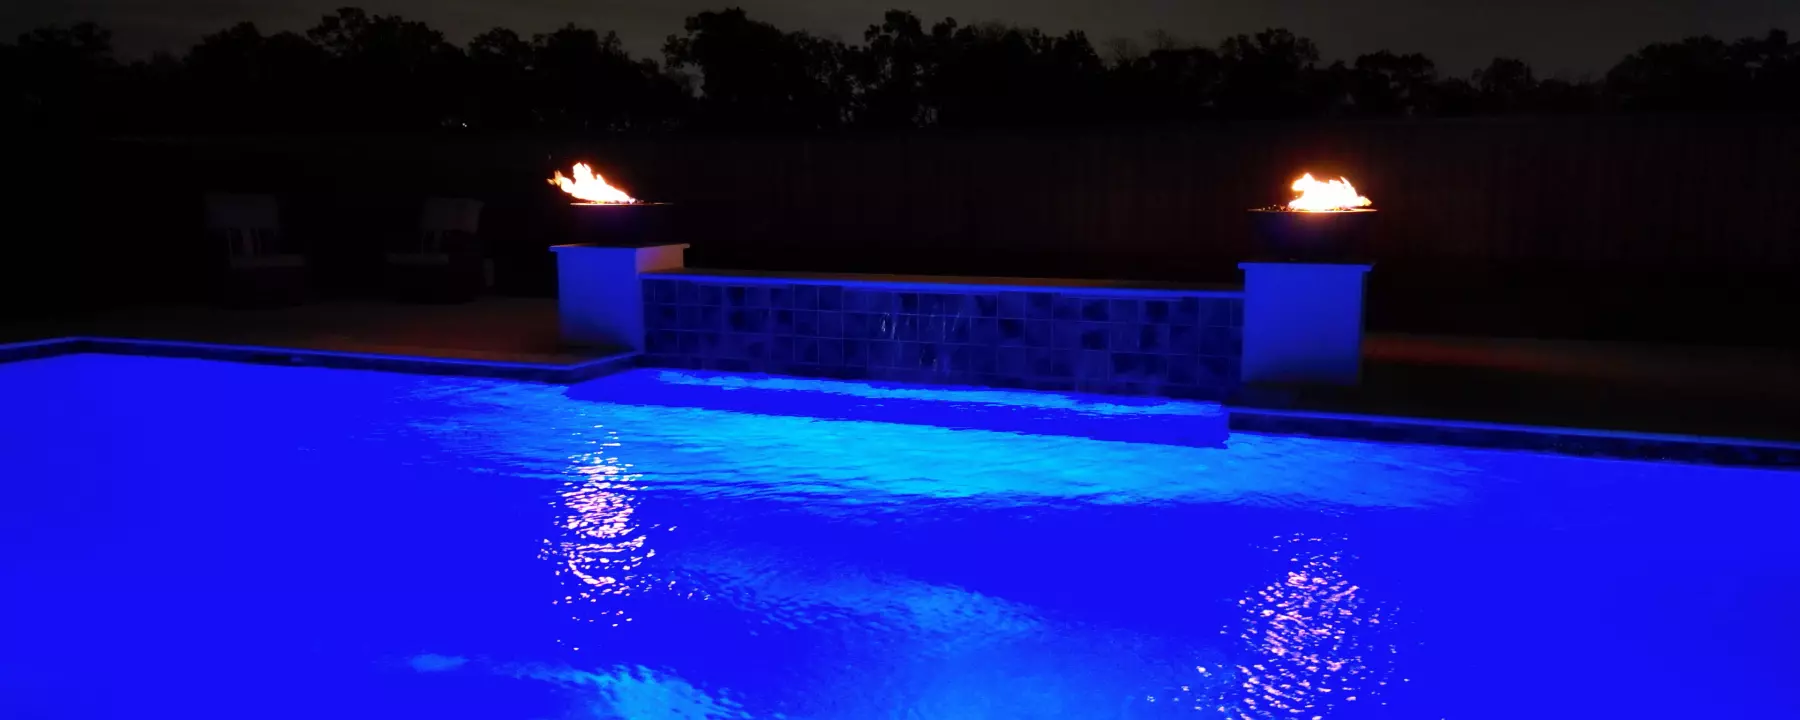
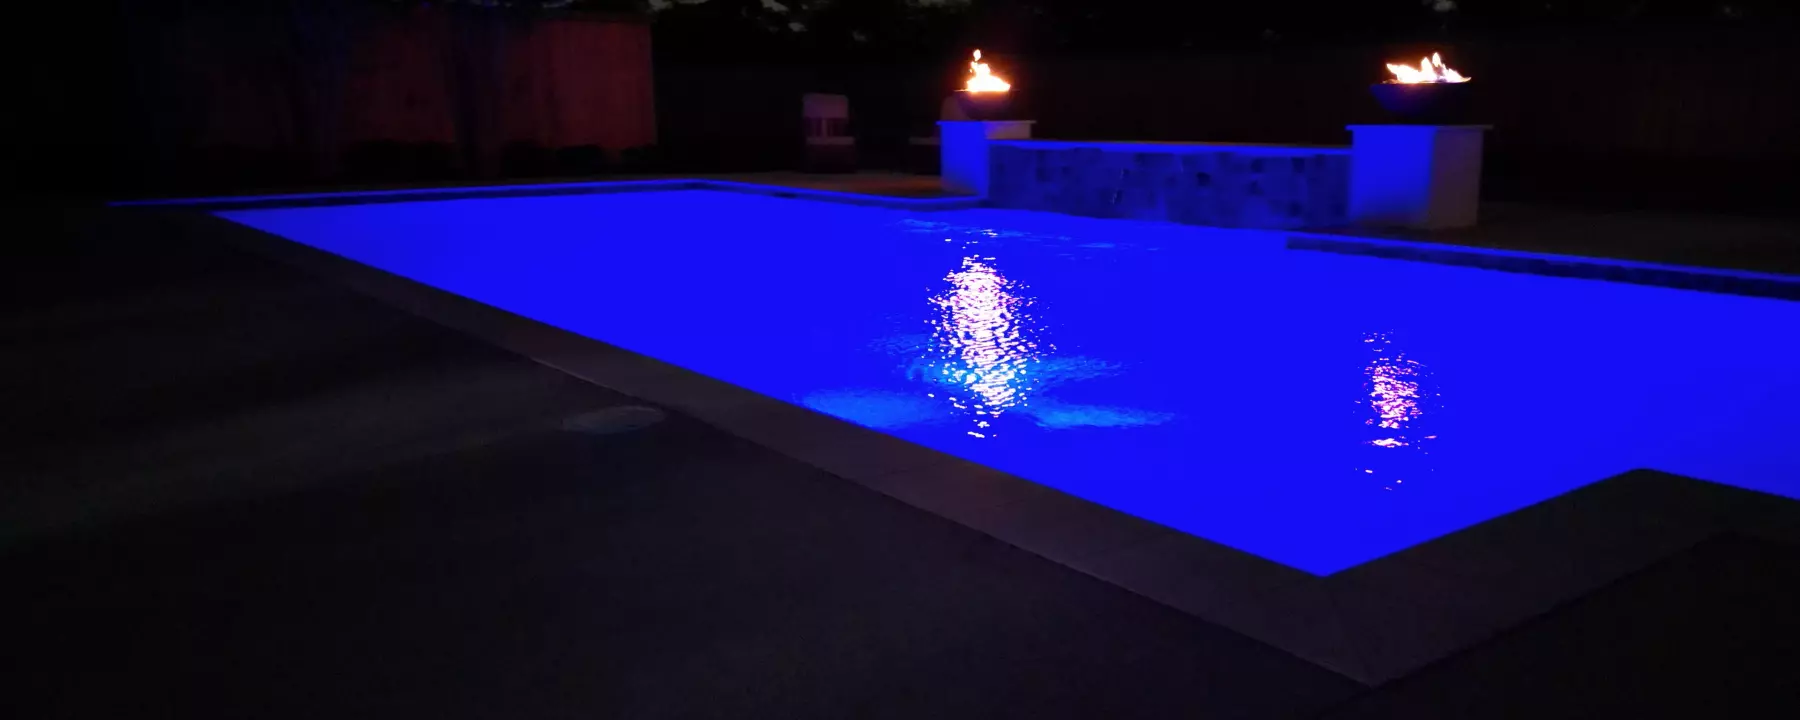
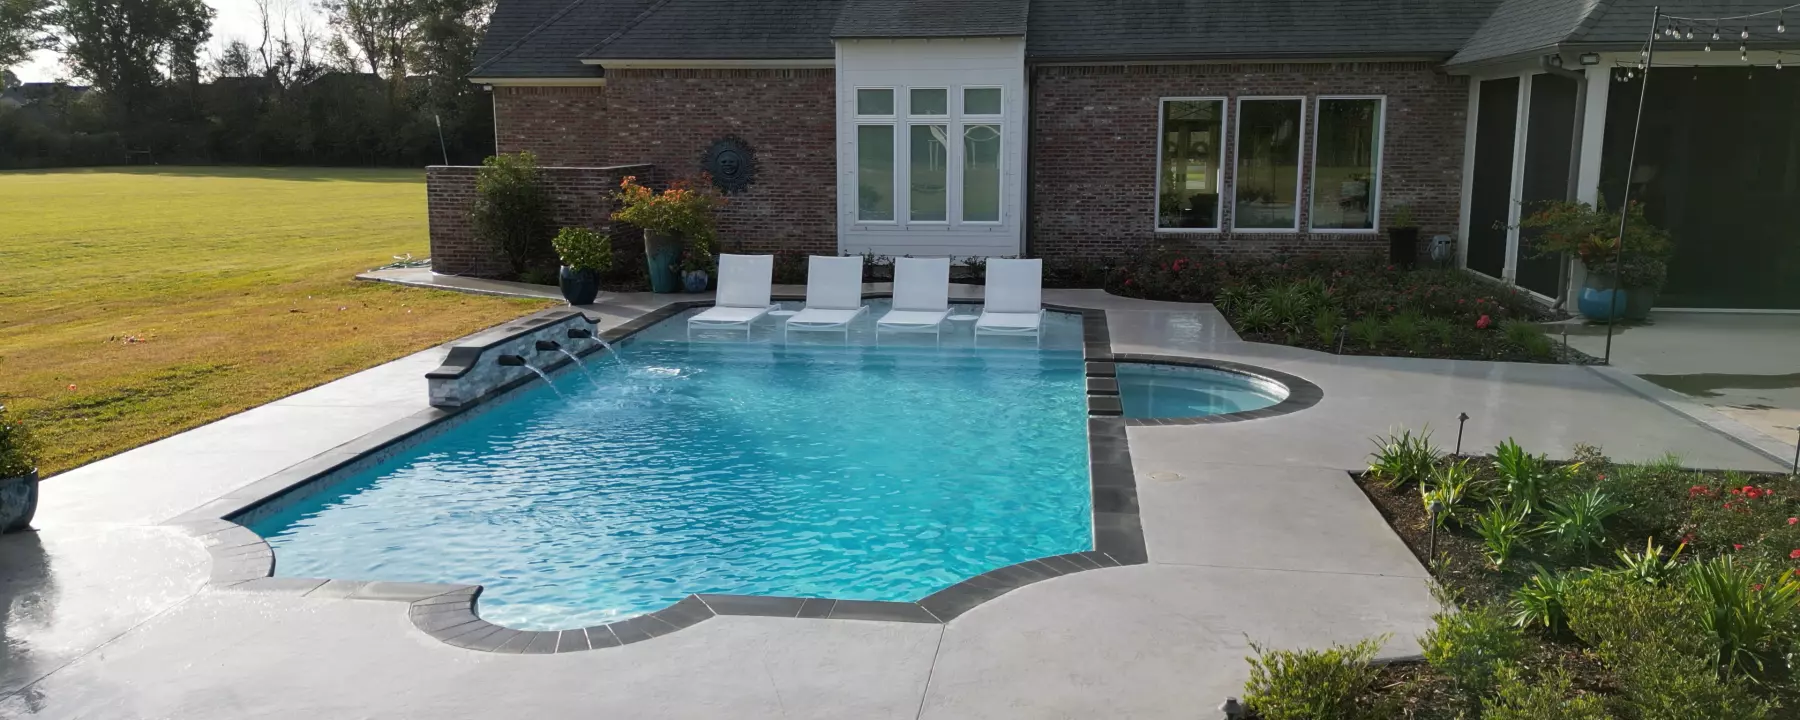
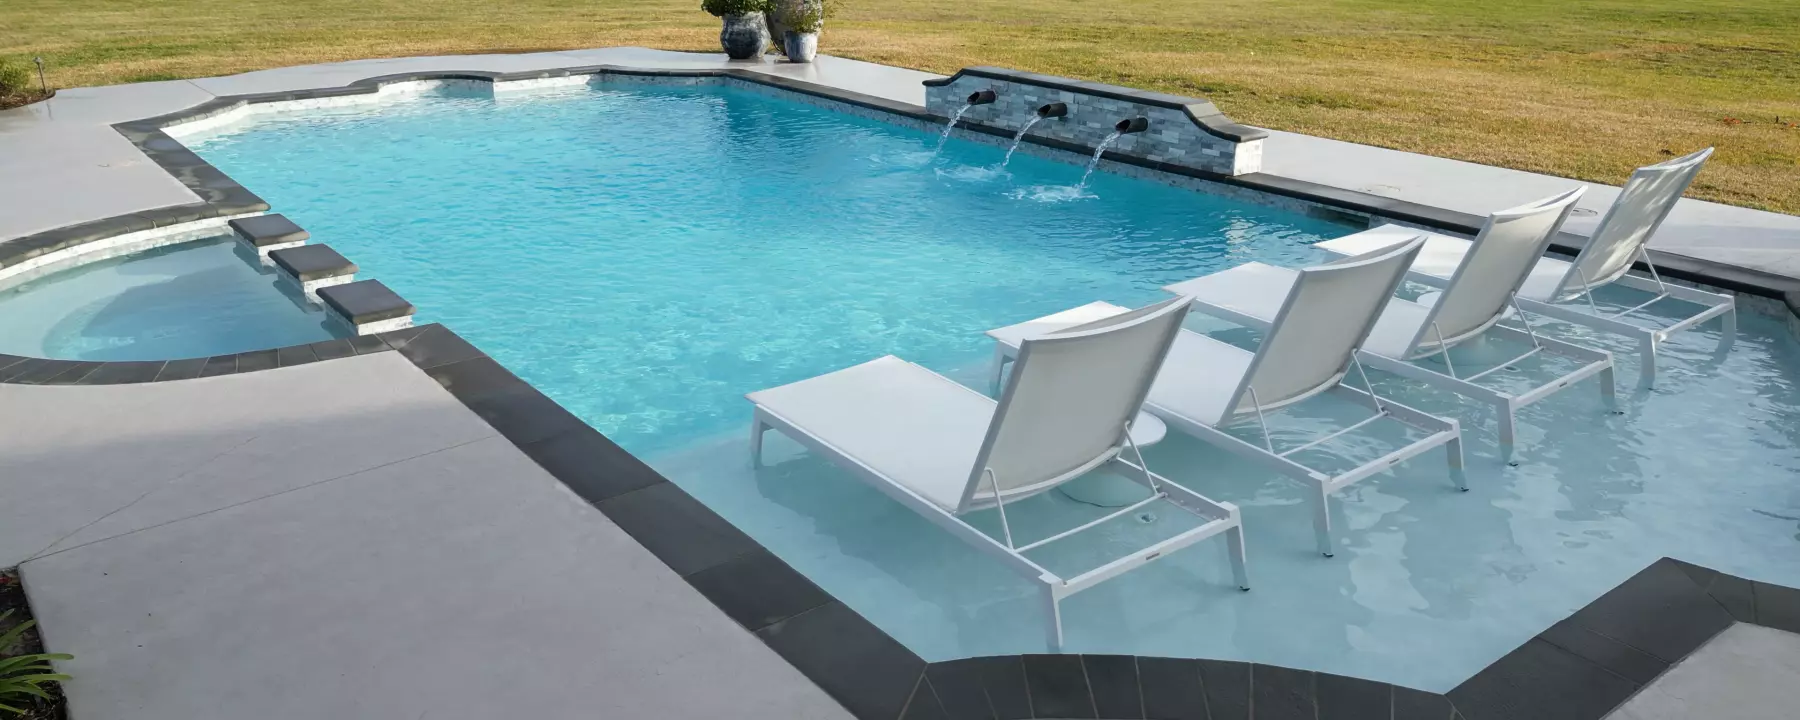
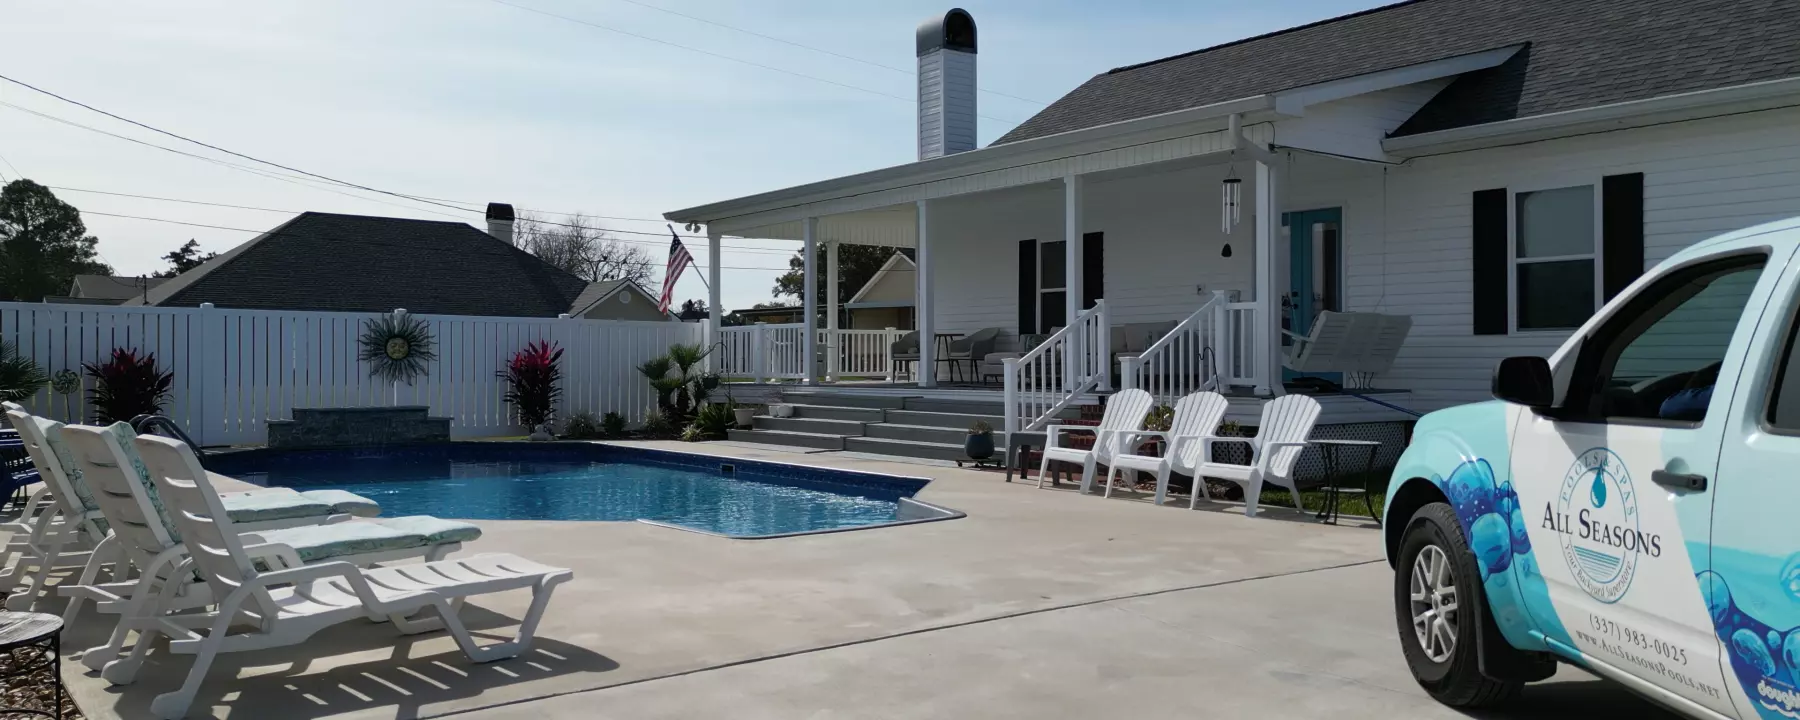
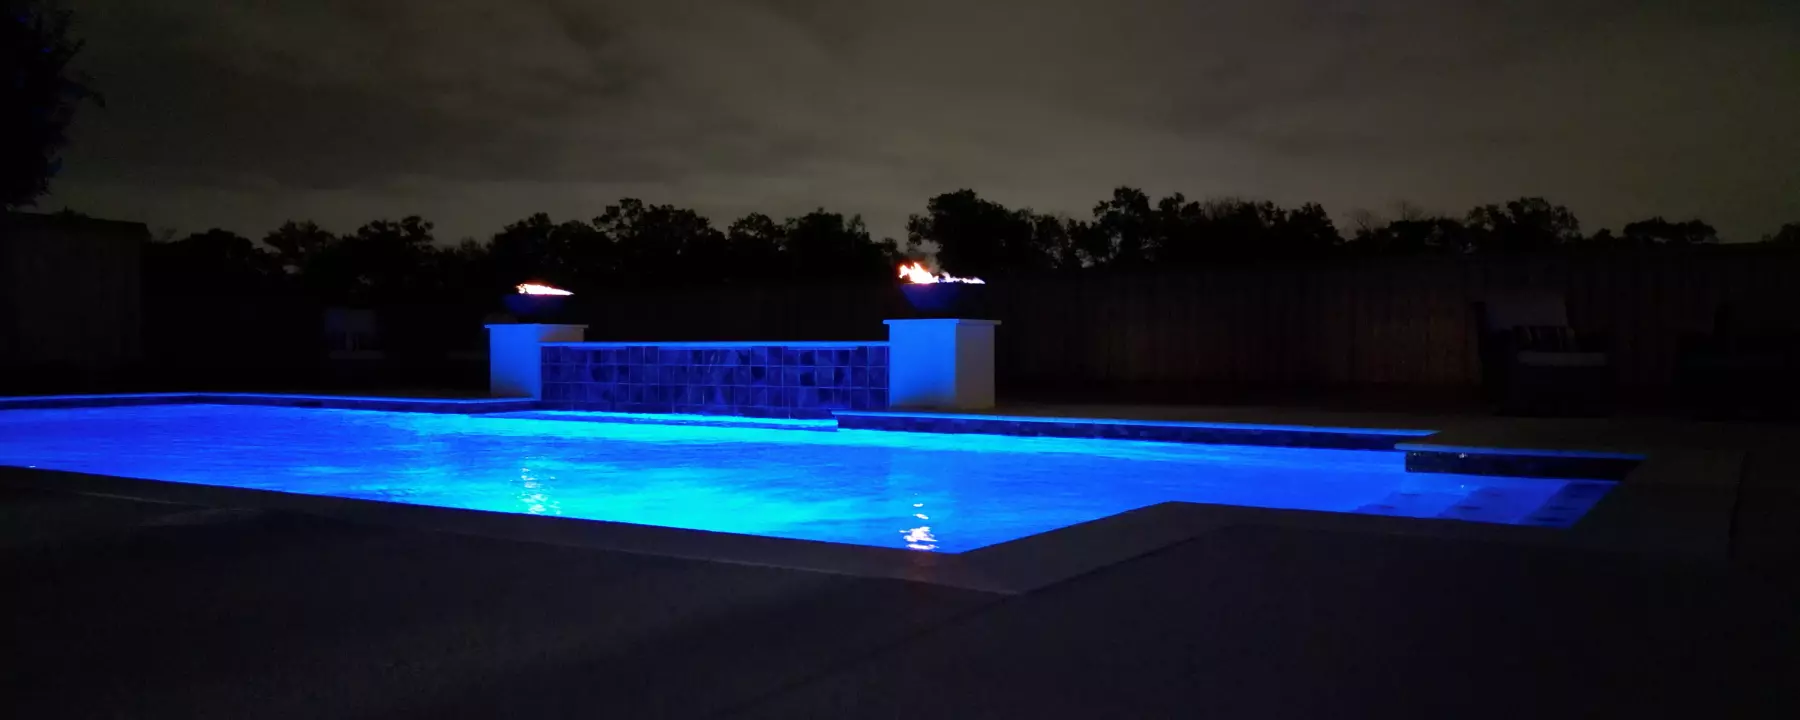
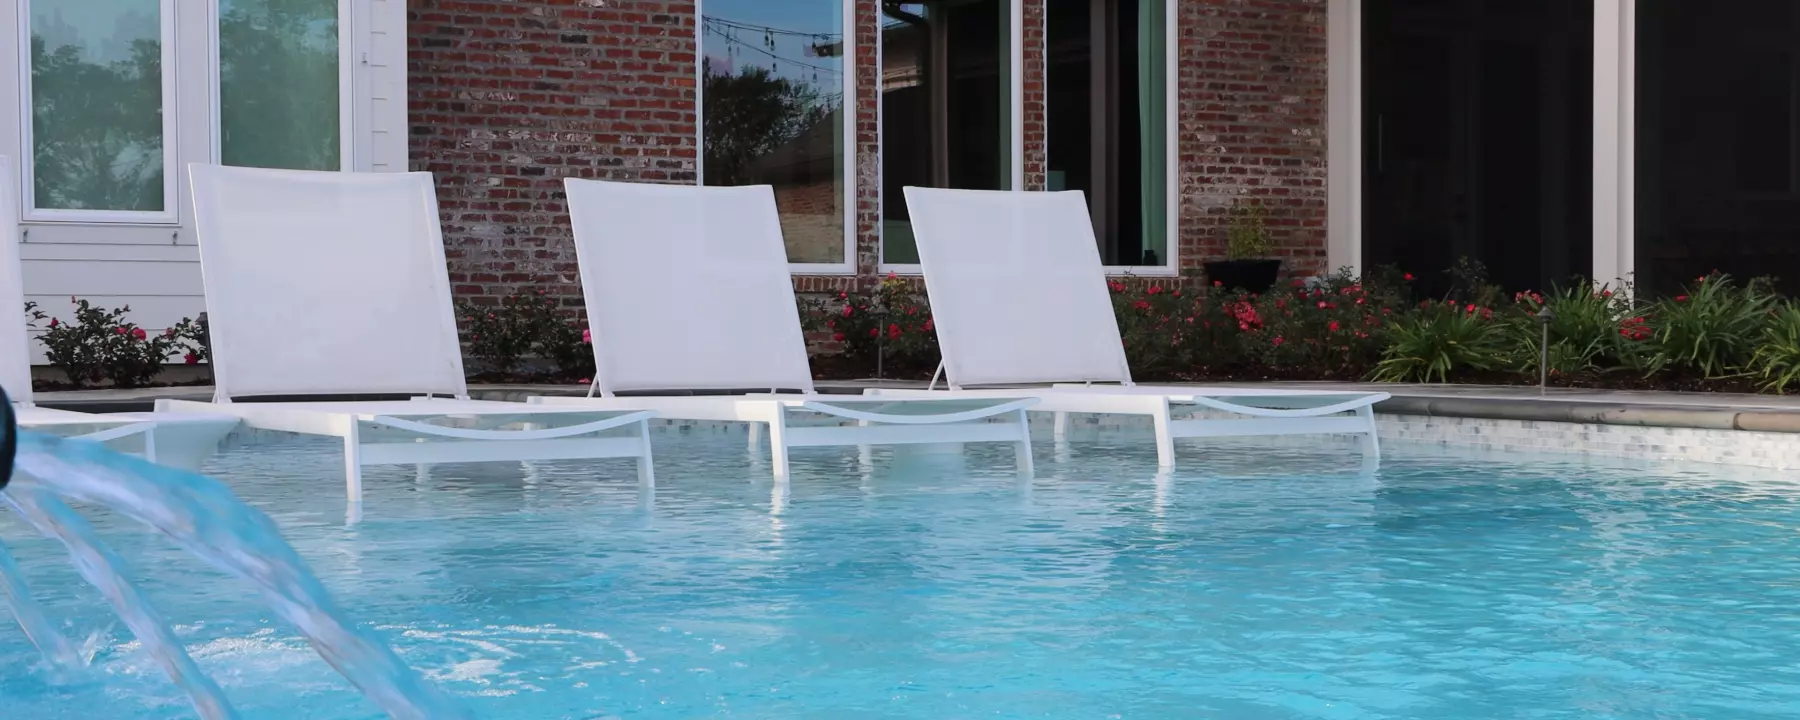
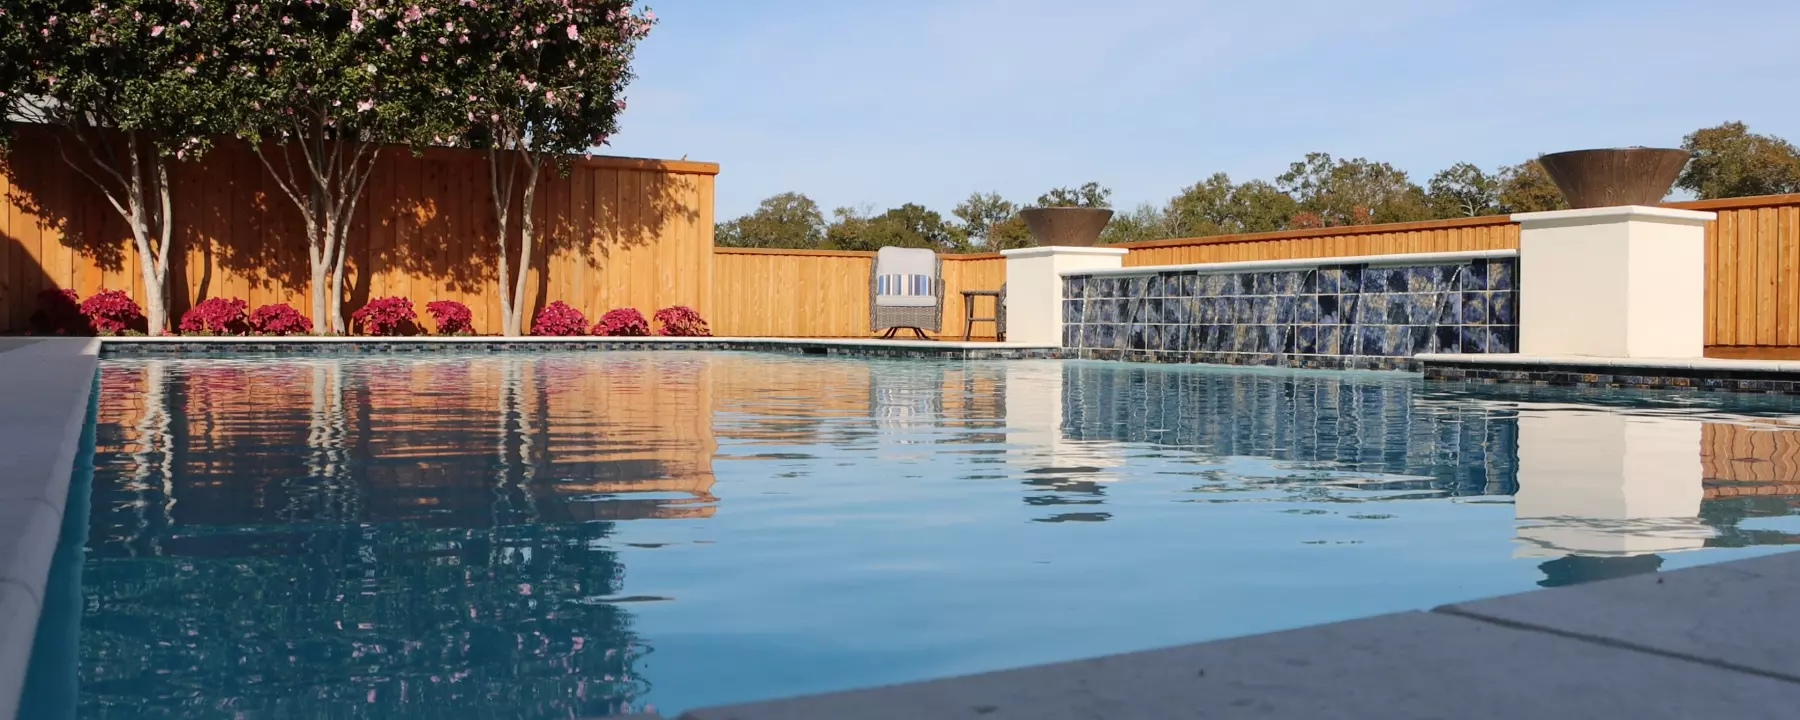
Gallery
All
Vinyl
Above Ground
Gunite
Request a Quote
Submit